About forking
If you want to contribute to someone else's project but don't have write access to the repository, you can use a "fork and pull request" workflow.
A fork is a new repository that shares code and visibility settings with the original “upstream” repository. Forks are often used to iterate on ideas or changes before they are proposed back to the upstream repository, such as in open source projects or when a user does not have write access to the upstream repository.
You can contribute by submitting pull requests from your fork to the upstream repository. For more information, see "Fork a repo."
Forking a repository
This tutorial uses the Spoon-Knife project, a test repository that's hosted on GitHub.com that lets you test the fork and pull request workflow.
- Navigate to the
Spoon-Knifeproject at https://github.com/octocat/Spoon-Knife. - Click Fork.

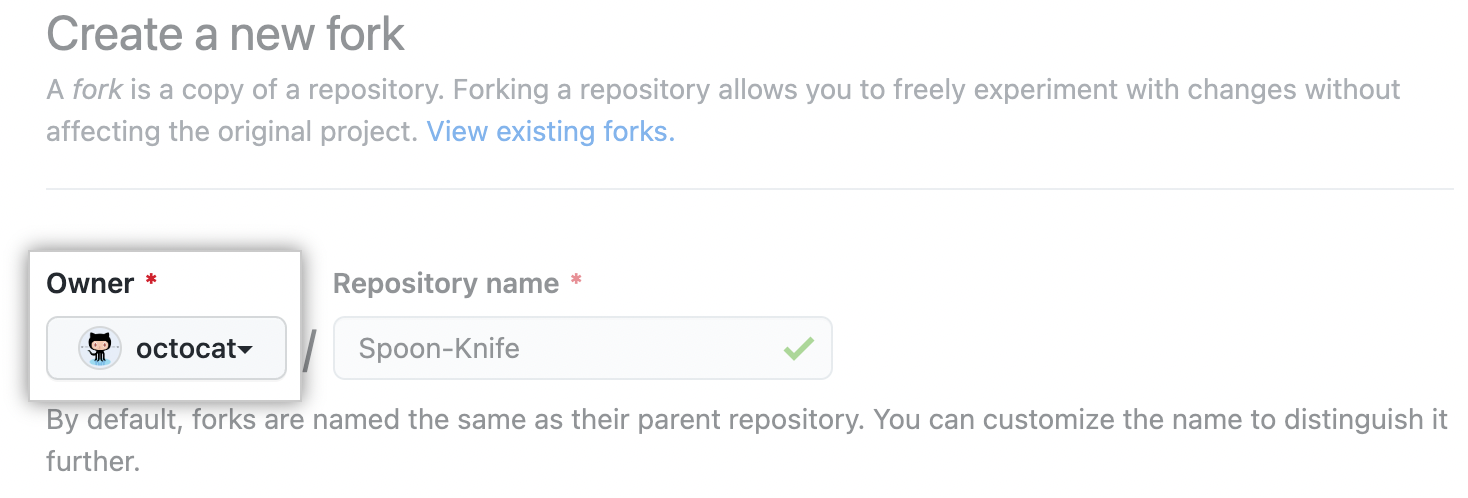
- Select an owner for the forked repository.
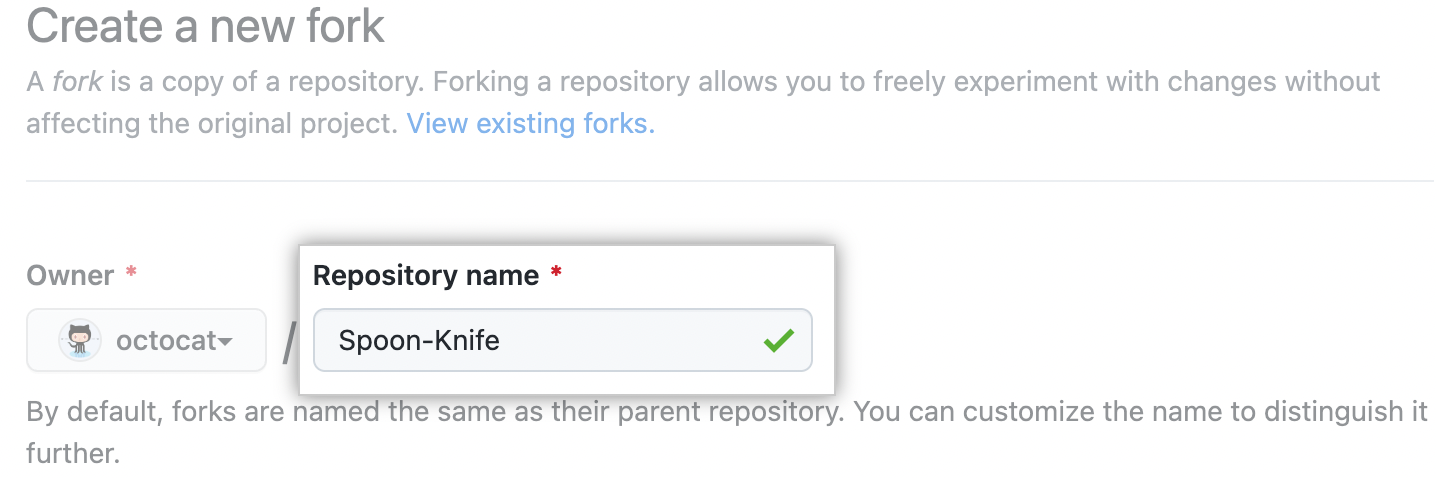
- By default, forks are named the same as their upstream repositories. You can change the name of the fork to distinguish it further.
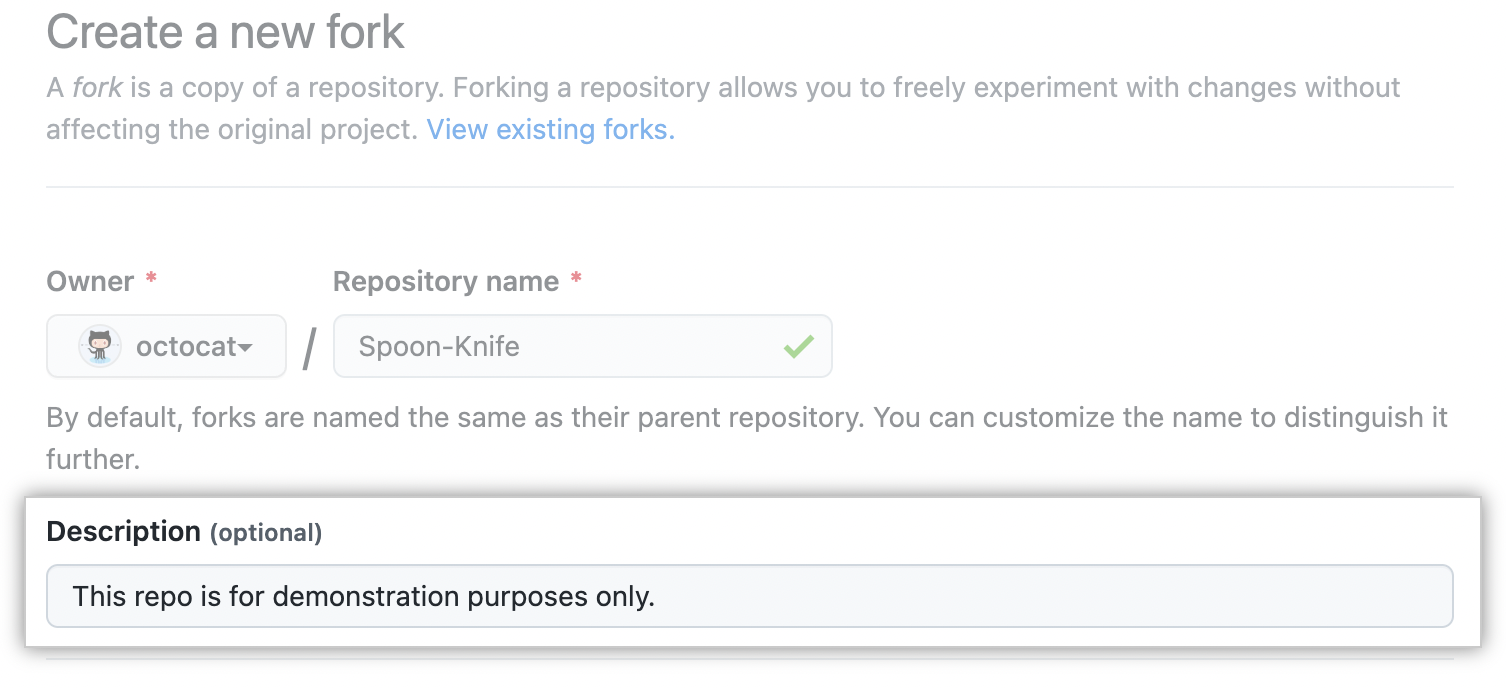
- Optionally, add a description of your fork.
- Choose whether to copy only the default branch or all branches to the new fork. For many forking scenarios, such as contributing to open-source projects, you only need to copy the default branch. By default, only the default branch is copied.

- Click Create fork.


Note: If you want to copy additional branches from the upstream repository, you can do so from the Branches page. For more information, see "Creating and deleting branches within your repository."
Cloning a fork
You've successfully forked the Spoon-Knife repository, but so far, it only exists on GitHub. To be able to work on the project, you will need to clone it to your computer.
You can clone your fork with the command line, GitHub CLI, or GitHub Desktop.
-
On GitHub, navigate to your fork of the Spoon-Knife repository.
-
Above the list of files, click Code.

-
Copy the URL for the repository.
- To clone the repository using HTTPS, under "HTTPS", click .
- To clone the repository using an SSH key, including a certificate issued by your organization's SSH certificate authority, click SSH, then click .
- To clone a repository using GitHub CLI, click GitHub CLI, then click .

-
Open TerminalTerminalGit Bash.
-
Change the current working directory to the location where you want the cloned directory.
-
Type
git clone, and then paste the URL you copied earlier. It will look like this, with your GitHub username instead ofYOUR-USERNAME:$ git clone https://github.com/YOUR-USERNAME/Spoon-Knife -
Press Enter. Your local clone will be created.
$ git clone https://github.com/YOUR-USERNAME/Spoon-Knife
> Cloning into `Spoon-Knife`...
> remote: Counting objects: 10, done.
> remote: Compressing objects: 100% (8/8), done.
> remove: Total 10 (delta 1), reused 10 (delta 1)
> Unpacking objects: 100% (10/10), done.


To learn more about GitHub CLI, see "About GitHub CLI."
To create a clone of your fork, use the --clone flag.
gh repo fork REPOSITORY --clone=true-
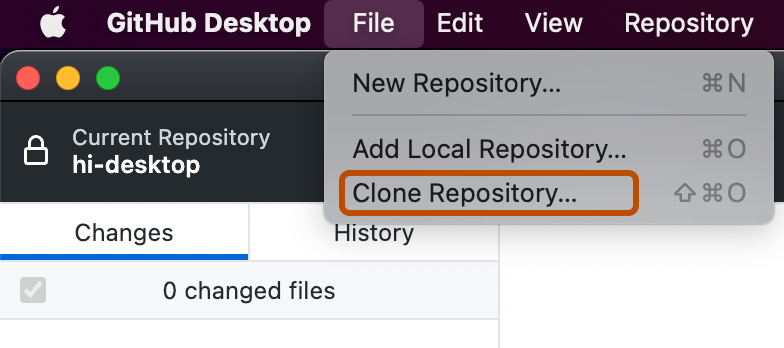
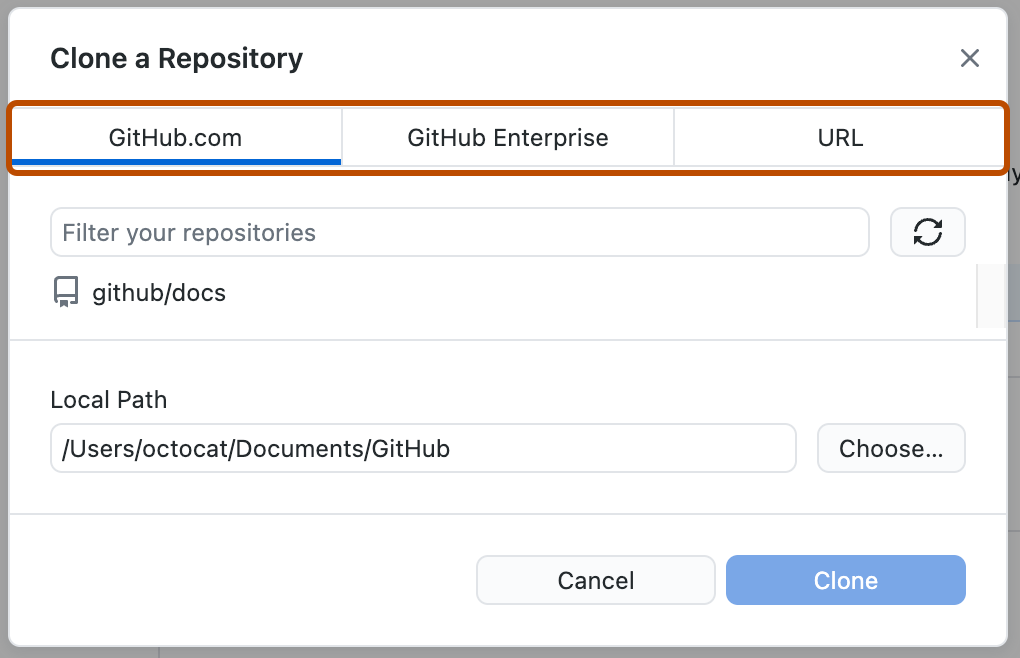
In the File menu, click Clone Repository.

-
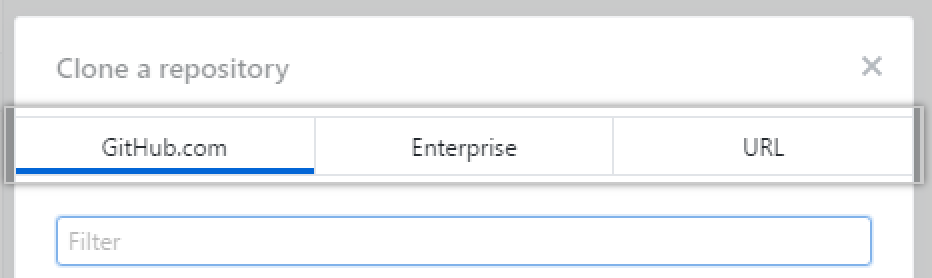
Click the tab that corresponds to the location of the repository you want to clone. You can also click URL to manually enter the repository location.
-
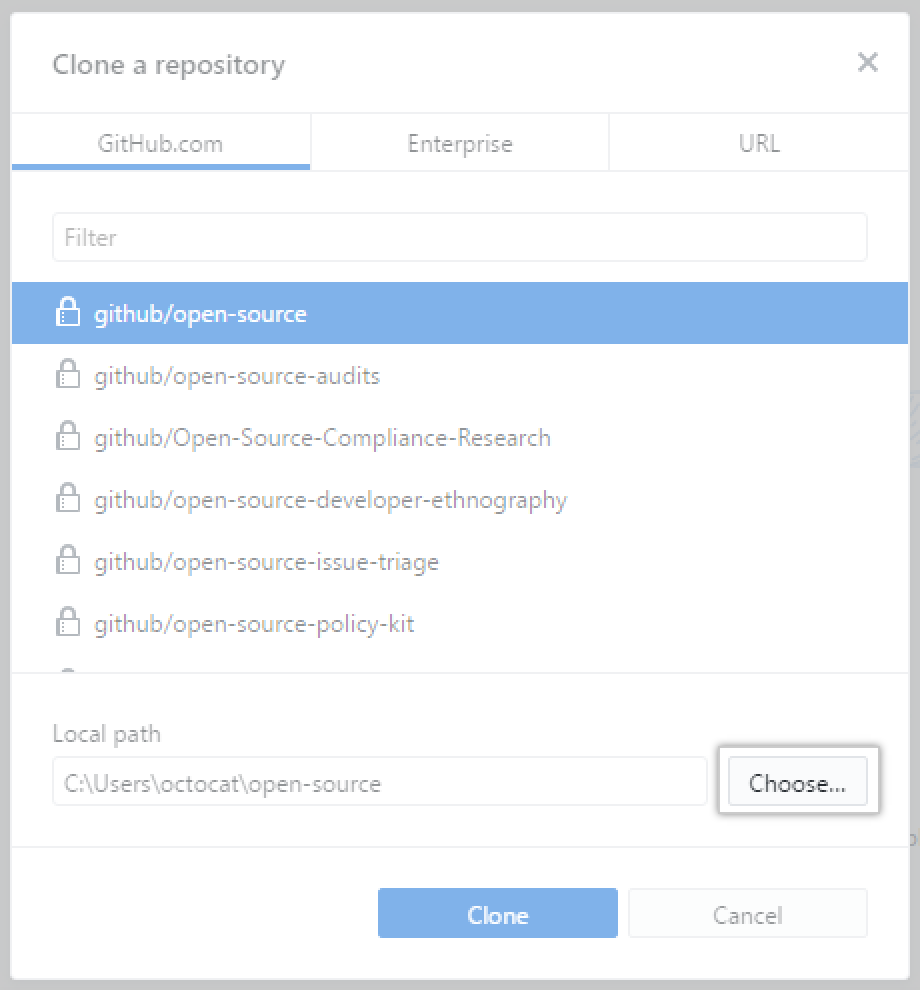
From the list of repositories, click the repository you want to clone.


-
To select the local directory into which you want to clone the repository, next to the "Local Path" field, click Choose... and navigate to the directory.

-
At the bottom of the "Clone a Repository" window, click Clone.


Creating a branch to work on
Before making changes to the project, you should create a new branch and check it out. By keeping changes in their own branch, you follow GitHub Flow and ensure that it will be easier to contribute to the same project again in the future. For more information, see "GitHub flow."
git branch BRANCH-NAME
git checkout BRANCH-NAME
git branch BRANCH-NAME
git checkout BRANCH-NAMEFor more information about how to create and manage branches in GitHub Desktop, see "Managing branches."
Making and pushing changes
Go ahead and make a few changes to the project using your favorite text editor, like Visual Studio Code. You could, for example, change the text in index.html to add your GitHub username.
When you're ready to submit your changes, stage and commit your changes. git add . tells Git that you want to include all of your changes in the next commit. git commit takes a snapshot of those changes.
git add .
git commit -m "a short description of the change"
git add .
git commit -m "a short description of the change"For more information about how to stage and commit changes in GitHub Desktop, see "Committing and reviewing changes to your project."
When you stage and commit files, you essentially tell Git, "Okay, take a snapshot of my changes!" You can continue to make more changes, and take more commit snapshots.
Right now, your changes only exist locally. When you're ready to push your changes up to GitHub, push your changes to the remote.
git pushgit pushFor more information about how to push changes in GitHub Desktop, see "Pushing changes to GitHub."
Making a pull request
At last, you're ready to propose changes into the main project! This is the final step in producing a fork of someone else's project, and arguably the most important. If you've made a change that you feel would benefit the community as a whole, you should definitely consider contributing back.
To do so, head on over to the repository on GitHub where your project lives. For this example, it would be at https://github.com/<your_username>/Spoon-Knife. You'll see a banner indicating that your branch is one commit ahead of octocat:main. Click Contribute and then Open a pull request.
GitHub will bring you to a page that shows the differences between your fork and the octocat/Spoon-Knife repository. Click Create pull request.
GitHub will bring you to a page where you can enter a title and a description of your changes. It's important to provide as much useful information and a rationale for why you're making this pull request in the first place. The project owner needs to be able to determine whether your change is as useful to everyone as you think it is. Finally, click Create pull request.
Managing feedback
Pull Requests are an area for discussion. In this case, the Octocat is very busy, and probably won't merge your changes. For other projects, don't be offended if the project owner rejects your pull request, or asks for more information on why it's been made. It may even be that the project owner chooses not to merge your pull request, and that's totally okay. Your changes exist in your fork. And who knows--maybe someone you've never met will find your changes much more valuable than the original project.
Finding projects
You've successfully forked and contributed back to a repository. Go forth, and contribute some more! For more information, see "Finding ways to contribute to open source on GitHub."