
The grass will be greener on your side of the fence
Your lawn is a growing, changing ecosystem right outside your door, and just like all ecosystems, it can tip off balance from time to time. Thatch overgrowth can lead to common grass diseases, pest issues, and brown patches around your lawn.
Luckily, dethatching your grass is both an accessible DIY job for the dedicated lawn lover or a common job for a local landscaper.
Difficulty: 2/5—Saturday skill builder
Time to complete: 3-4 hours (and a day of prep time)
What You'll Need
Tools
Thatching rake or power dethatcher (typically rented)
Standard rake
Hose
Wheelbarrow
Screwdriver
Flags or markers for utility lines
Supplies
Lawn fertilizer
How to Prep Your Lawn for Dethatching
Begin by double-checking that your lawn even needs to be dethatched, or if simple aeration will do the trick this season. Thatch is not inherently evil—up to half an inch of it on our lawns is quite normal.
This organic layer made of old grass clippings, stems, and roots acts as a permeable barrier between the soil and your grass blades to manage the flow of air, water, and nutrients. But an imbalance of moisture, fertilizer, or the microorganisms that eat the thatch can lead to its overgrowth.
Check Your Thatch Level
Signs of thatch overgrowth first appear as discoloration or patches of dead grass in your lawn. Remove a small subsection of your turf with a screwdriver and measure the soft layer where the grass meets the soil. If it measures over 3/4 of an inch, it's time to detach.
Time It With Growth Season
Detaching can put your turf through a bit of stress, so it's best to wait for the high growth season to break out the dethatching tools whenever possible. For cool-season grasses in the north, opt for late spring and early summer. In the south, wait to dethatch until late summer and early fall.
Prepare for Debris
You'll rake up a shocking amount of thatch during the process. Prep your wheelbarrow and bags for hauling it away before you begin or hire a hauling company for assistance.
8 Steps to Dethatch a Lawn
You have two primary options when dethatching: a cavex rake—the manual method—or a power thatcher. Most pros recommend avoiding dethatching mower attachments with raking tines, as they can cause more harm than good. We'll touch on both the power and by-hand method as we go.
Be sure to set aside at least two days to prep and dethatch your lawn. It's also important to stay off the grass as your grass recovers—so don't put a barbecue on the calendar for the next day.
1. Mow to Its Lowest Level
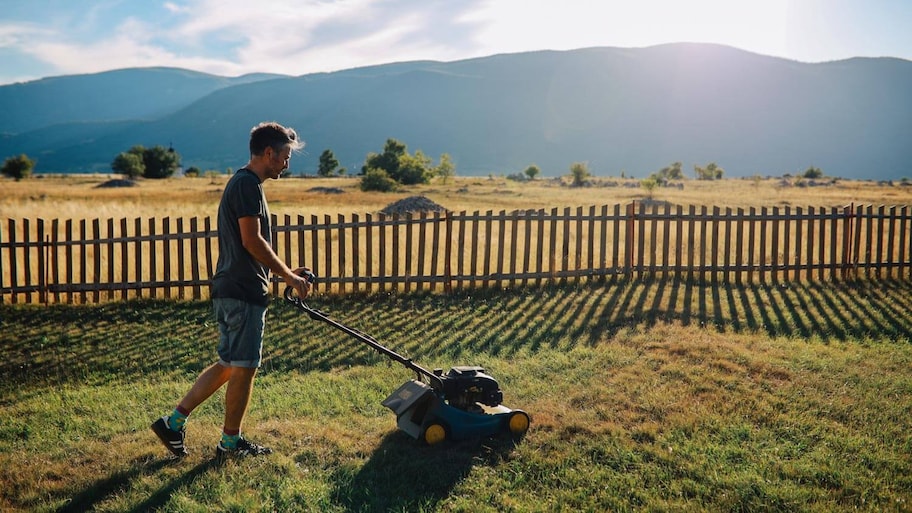
Try to work with as blank a slate as possible without damaging your grass blades. Set your mower to the lowest standard level for your grass variety and remove the clippings from the lawn.
2. Water Your Lawn the Day Before
Moist—but not soaked—lawns handle the dethatching process best. Lightly water your lawn the day before you plan to dethatch, or wait for a day of light rain. If you recently experienced heavy rains, wait for your lawn to dry out a bit. Too much moisture will cause the dethatcher to pull up your lawn in clumps and potentially damage it in the process.
3. Choose Your Tools
A cavex rake, aka a thatching rake, has sharper and longer tines than your standard one. Manual dethatching is totally fine for small lawns or if you're just focusing on a specific patch.
Mid-sized and large lawns are best with some mechanical assistance. According to Home Advisor, you can rent a power dethatcher for around $80 a day. You may also see the names verticutter, power rake, scarifier, or vertical cutter.
4. Set the Dethatcher Level
If you're using a power dethatcher, be sure the blades do not cut further than half an inch into the ground. We recommend chatting with a landscaper or your rental company before leaving the store.
Explain the measurements of your current thatch and your variety of grass for guidance. Remember, you're looking to remove excess thatch, not discourage it from growing back at all.
5. Mark Your Lawn
The last thing you want to do is take out an unsuspecting sprinkler head with the power dethatcher. Mark any water lines, sprinkler heads, or utilities before starting.
6. Start Dethatching
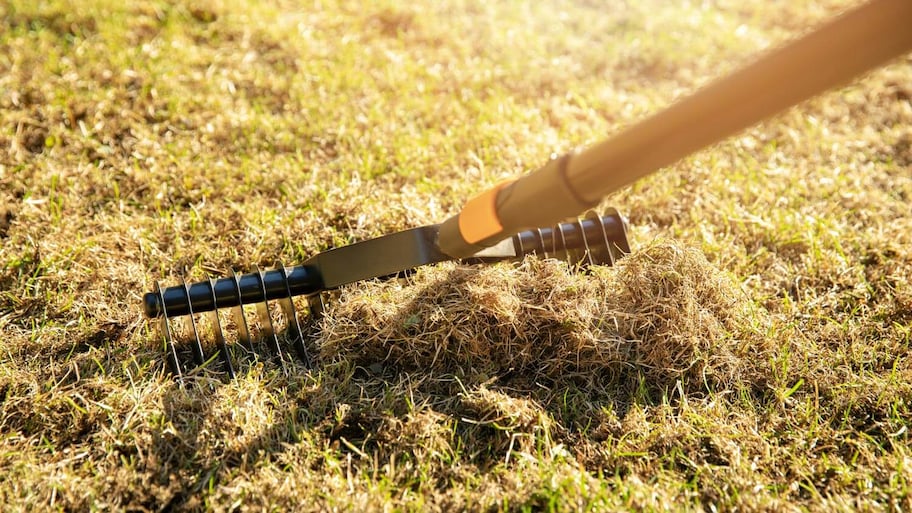
If you're using a dethatching rake, place the teeth on the ground and move in small back-and-forth motions. Pulling the rake toward you will pull up the thatch and pushing it away will release it from the tines. Move slowly across your lawn until you've covered each area. Make one more pass at the opposite angle to cover your bases.
Power dethatchers come with detailed instructions for transport, start-up, and care, so be sure to follow these above all else. When you're ready to go, push the dethatcher slowly across your lawn, making one or two more passes in varying angles—typically perpendicular to one another.
7. Remove Debris
Use a rake and wheelbarrow to remove the layer of loose debris from your lawn. This step is incredibly important to keep the problem from starting all over again. Keep in mind that this is typically a big job, so leave time for proper removal.
8. Water and Feed
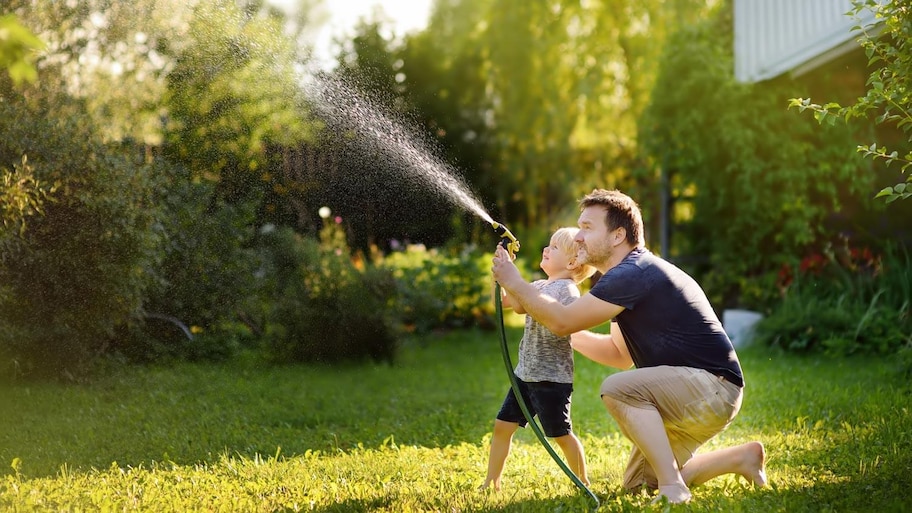
Water your lawn after you've removed all the debris. If you use lawn fertilizer, now's a good time to add this as well. If you delivered dead or yellowing patches, consider starting the reseeding process in a few days.
DIY Dethatching vs. Hiring a Landscaper
You will save a good deal of money when detaching your lawn yourself, but it's not for everyone. For one, there is a risk of over or under-thatching and causing more costly issues for your lawn's health. Transporting and maneuvering a power thatcher also takes significant elbow grease.
All this being said, hiring a professional landscape to detach your lawn will cost about $175 an hour. As we noted before, the primary cost of power thatching yourself falls about $100 less. You can also bring in a landscaper for standard aeration services each year, which costs between $70 and $190 an hour depending on the extent of the job and where you live.
Additional Questions
Not every homeowner needs to detach their lawn, and you typically won't need to every season. Here are some common things to keep in mind about this common lawn care practice.
Why does my lawn look bare after dethatching?
You will see far more soil beneath the grass just after dethatching, but never fear—this is normal. The lawn is now free of the thatch layer that was keeping out water, air, and nutrients, and should grow thicker and healthier now that it’s removed. This is one reason why watering and fertilizing your lawn at this stage is so beneficial.
Can I walk on my grass after dethatching?
Avoid walking on your turf as much as possible after the dethatching process. A bit of light traffic is fine as you clean up the area, but try to keep it to a minimum by cleaning as you go. Your turf is delicate in this stage and footprints can compact the soil.
How often should I dethatch my lawn?
Lawns typically need a pass with the dethatcher or rake about every five years. If you're finding a build of thatch every season, contact your local landscaper to discuss an imbalance of fertilizer, moisture, pesticides, or poor grass maintenance.