
When a pipe busts, cut off water supply to stop the leak
That’s strange—there’s water all over the floor, but no one has spilled anything. Running through your troubleshooting checklist, you confirm that none of the faucets are leaking and the shower is off. Puzzled, you look to the walls, and there it is—an enormous wet spot spreading. Yep, a pipe has burst.
Don’t start panicking yet. With some quick action, you can prevent a complete plumbing disaster.
What Happens When a Pipe Bursts?
When pipes burst, one of the main contributors is frozen pipes. If temperatures get below freezing, the running water turns into ice, expands, and puts significant pressure on your plumbing system which can lead to cracks.
However, ice isn’t the only culprit that leads to pipes bursting. Other factors include:
Corroded pipes
Bulky clogs
High water pressure
Signs a Pipe Burst In Your Home
Contrary to popular belief, pipes don’t make a loud sound and spray water when a pipe bursts (although it’s a possibility). The signs are actually more subtle.
Here are a few things to keep an eye out for regarding burst pipes:
Increased water bills
Water discoloration
Inconsistent water flow
Weird noises from your pipework
What Do You Do if Your Pipes Burst?
If you’ve noticed any of the above signs, you may have burst water pipes. Let’s look at practical ways to deal with the situation.
1. Turn Off the Water Supply
First things first, turn off your water supply to help prevent further water damage. You can usually find the valve in your basement, a crawl space, or close to your water heater.
If you can’t find it in the interior, check the outside of your home, near the water meter. Since it’s rarely closed, you’ll need a little elbow grease to close it.
Also consider is turning off your electricity for significant leaks. Water can travel towards your electrical sockets or fuse box, which can be hazardous to your household.
2. Drain the Taps
After shutting off the water supply, drain the faucets. You’ll want to drain cold taps first to remove any remaining cold water from your pipes to prevent them from freezing.
As you do that, flush your toilet multiple times to relieve pressure on your system. Do the same with the hot water taps by turning off the water heater.
3. Locate the Leak
Once the taps are off, it’s time to do your best Sherlock Holmes impression and find the leak. It could be anywhere—the ensuite bathroom, kitchen, or basement. But the quicker you locate the problem area, the easier it is to minimize damage.
Be cautious throughout your search, inspecting every nook and cranny. Look for bulging ceilings and floors or water spots in your walls. If you locate the leak, try plugging it with rags to prevent further water damage. Where there’s a drip, place a bucket underneath to limit damage to your floors.
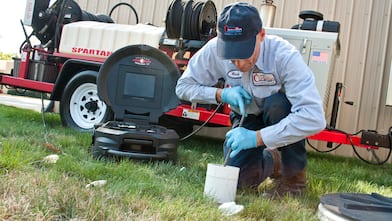
4. Call a Professional
Now that you’ve located the leak and initiated preventative measures call an emergency plumbing service. Hiring a plumber costs about $45 to $200 per hour, depending on the work needed and your location. The cost to replace pipes is between $350 to $1,840 but will vary on the piping that needs replacement.
5. Start Cleaning
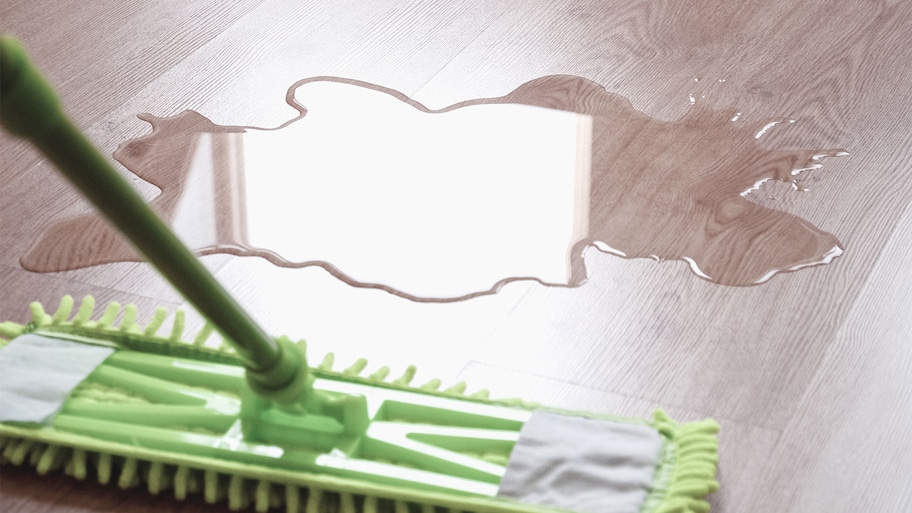
As things start to calm down, clean areas affected by the leak. When water sits unattended for some time, it leaves room for mold and mildew to grow.
Grab your mop or some rags and clear the water quickly. Salvage essential belongings and move furniture around to find water in hidden spots. Open windows to let fresh air speed up the drying process (weather permitting).
6. Document the Damage
As you’re cleaning, make sure to document any damage. Your home insurance policy might cover water damage, and you’ll need evidence to support it.
Take pictures of affected areas, items, and where the leak started. Don’t toss anything just yet; the more information available, the higher chance of a successful claim.