Interpreting images has been a popular use case in the field of artificial intelligence (AI), and identification of handwritten digits using neural networks is commonly used in mobile applications.
In this tutorial, learn how to create a web application to recognize handwritten digits using neural networks on R in Watson Studio. The tutorial uses the MNIST database, which is a large database of handwritten digits that is commonly used in machine learning.
Prerequisites
The following prerequisites are required to run the tutorial:
- An IBM Cloud account
- IBM Cloud Pak for Data
- Working knowledge of the R Programming language
Estimated time
It should take you approximately 45 minutes to complete this tutorial.
Steps
- Create your IBM Cloud account and access IBM Cloud Pak for Data as a Service.
- Create a new project.
- Launch the RStudio environment IDE.
- Add the files to your project.
Create IBM Cloud account and access IBM Cloud Pak for Data as a Service
- Sign in to IBM Cloud.
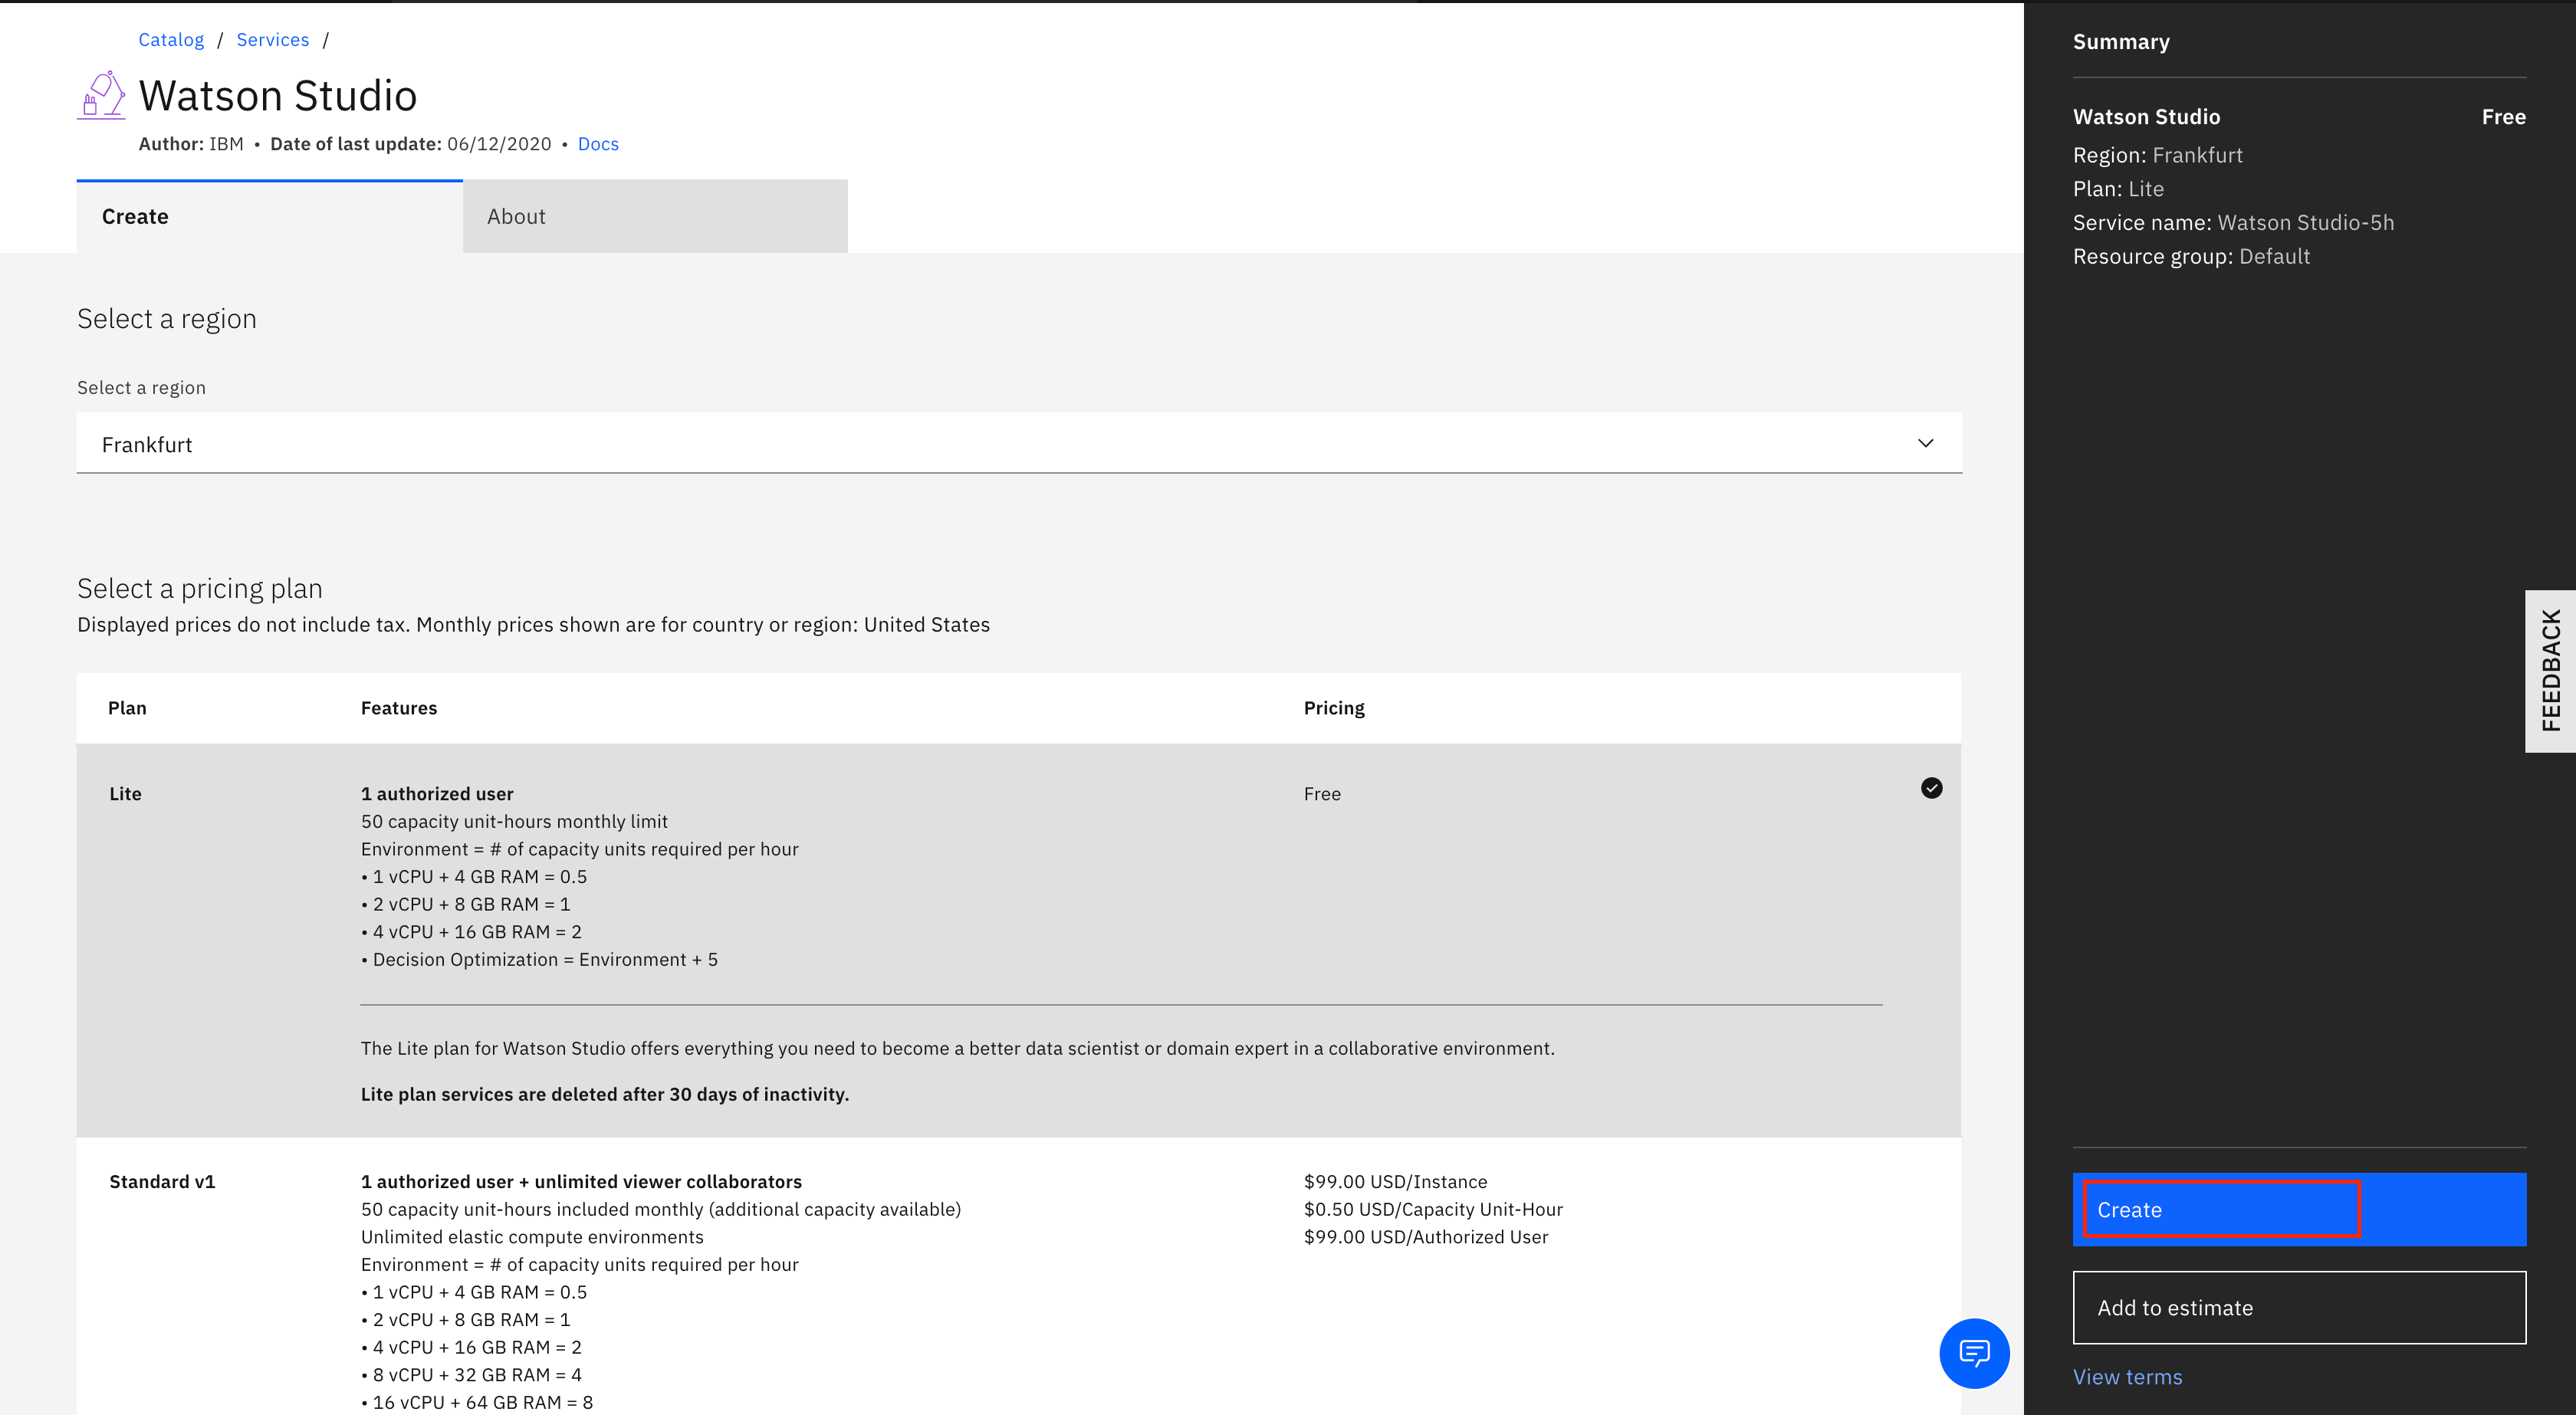
Search for IBM Watson Studio.

Create the service by selecting the region and pricing plan, then click Create.
Create a new project
Start the Watson Studio service.
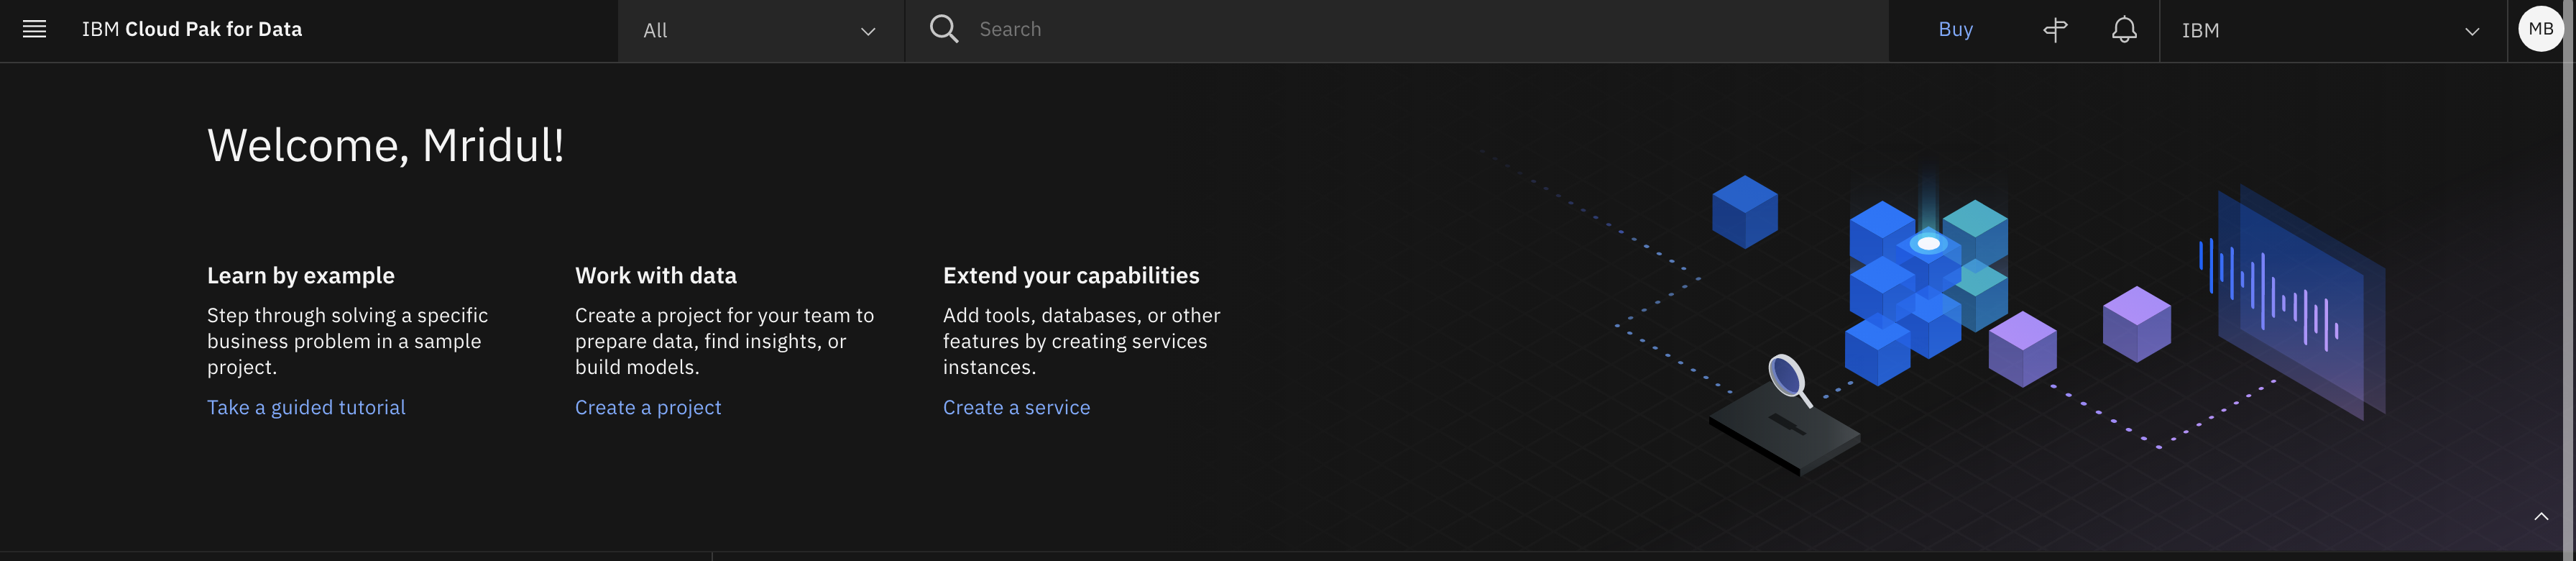
Click Create a project, then Create an empty project.

Name your project and add a storage service. Click Create.

Launch RStudio environment IDE
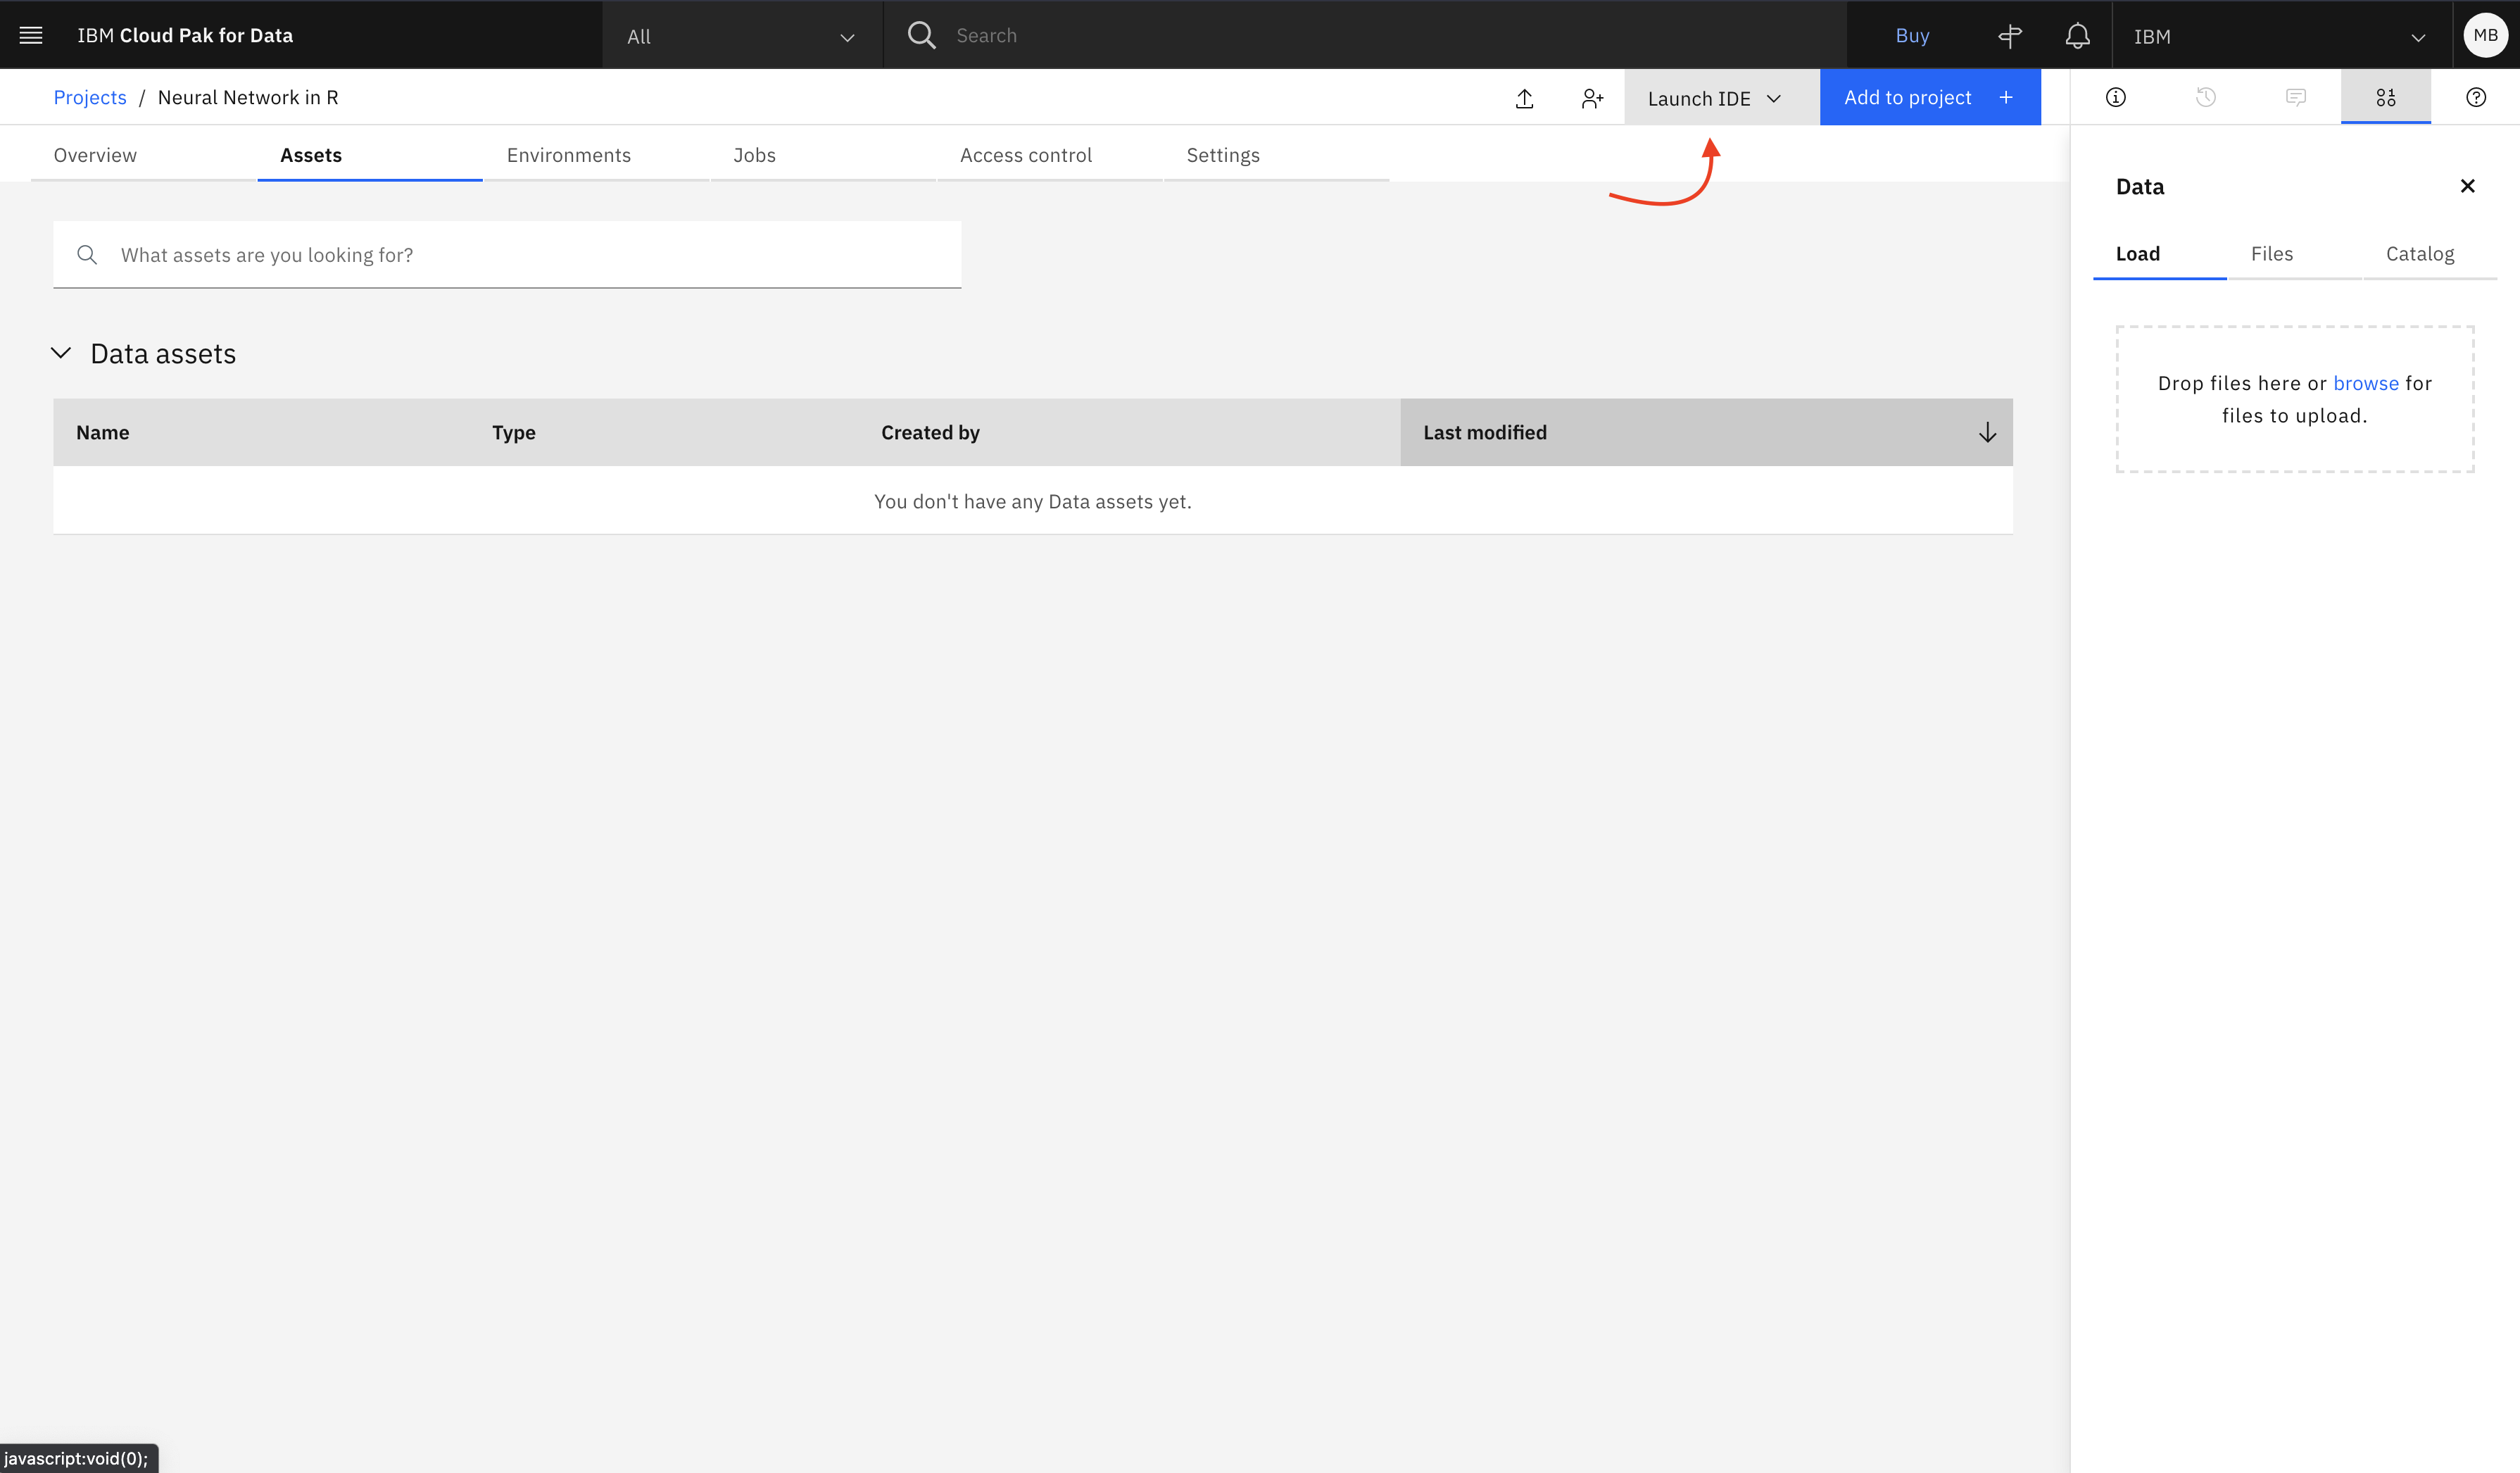
Go to Assets, click Launch IDE.
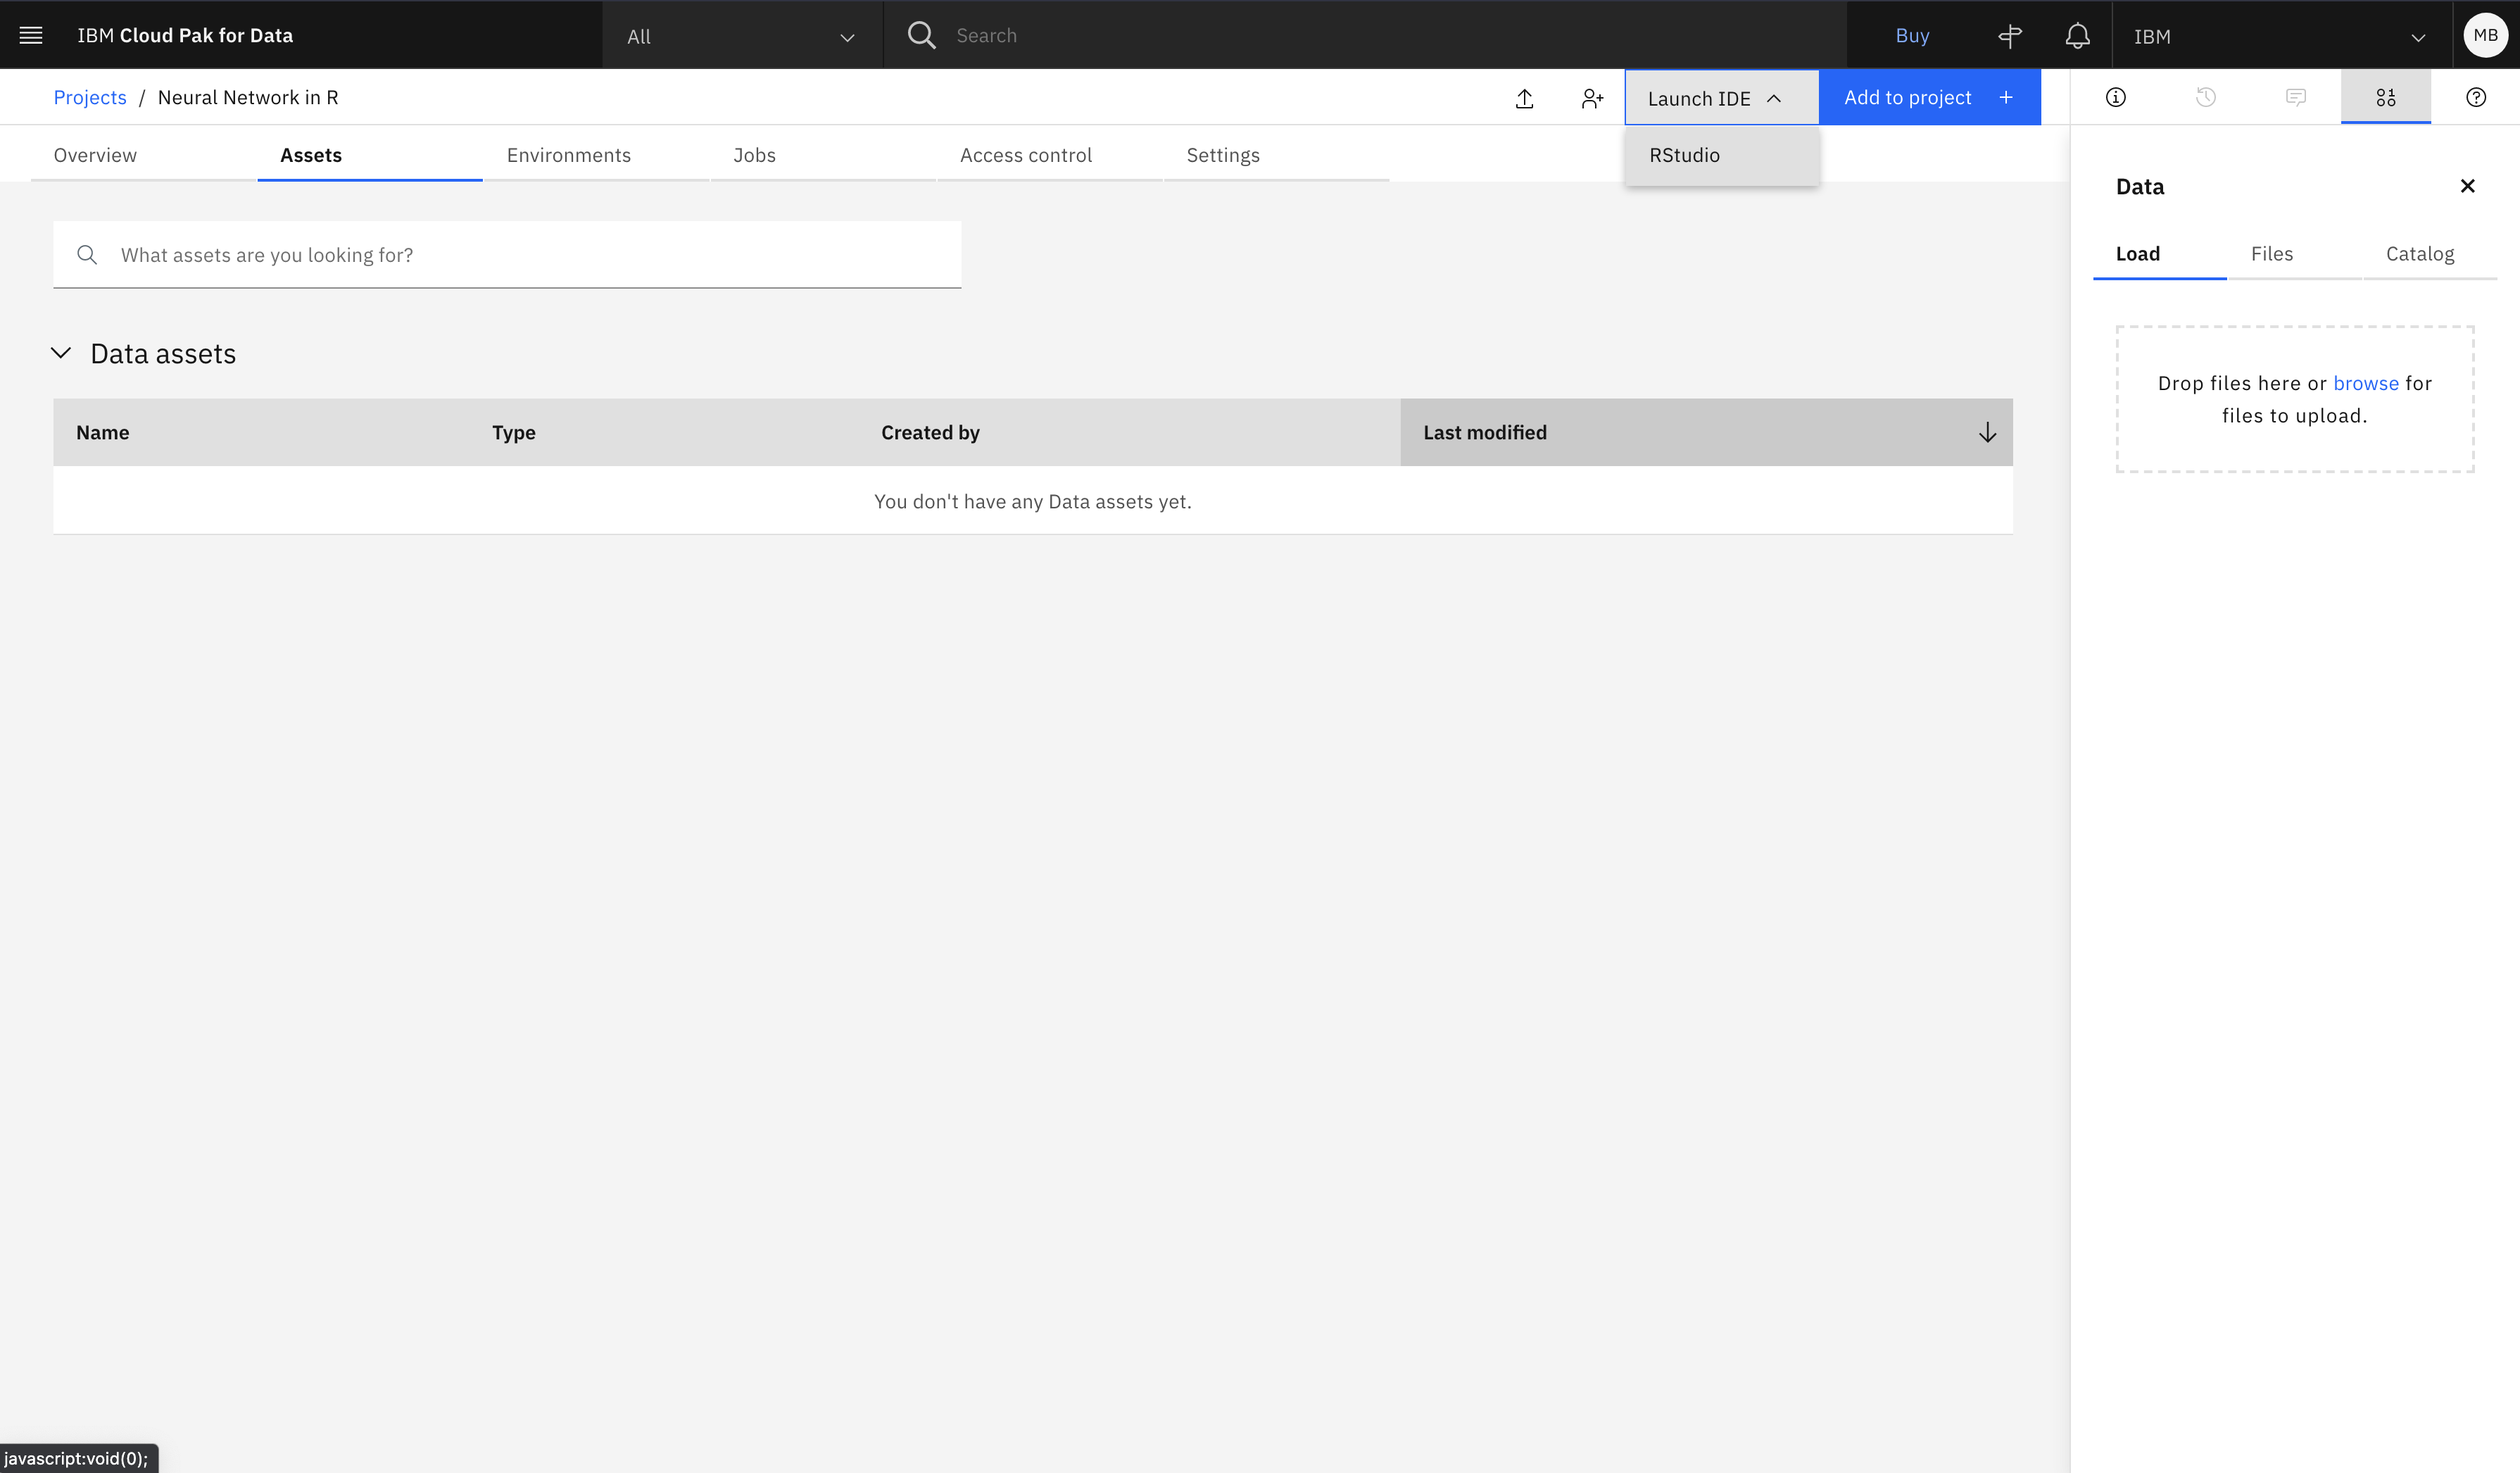
Select RStudio.
Select Default RStudio XS (2 vCPU and 8 GB RAM) for the runtime, and click Launch.
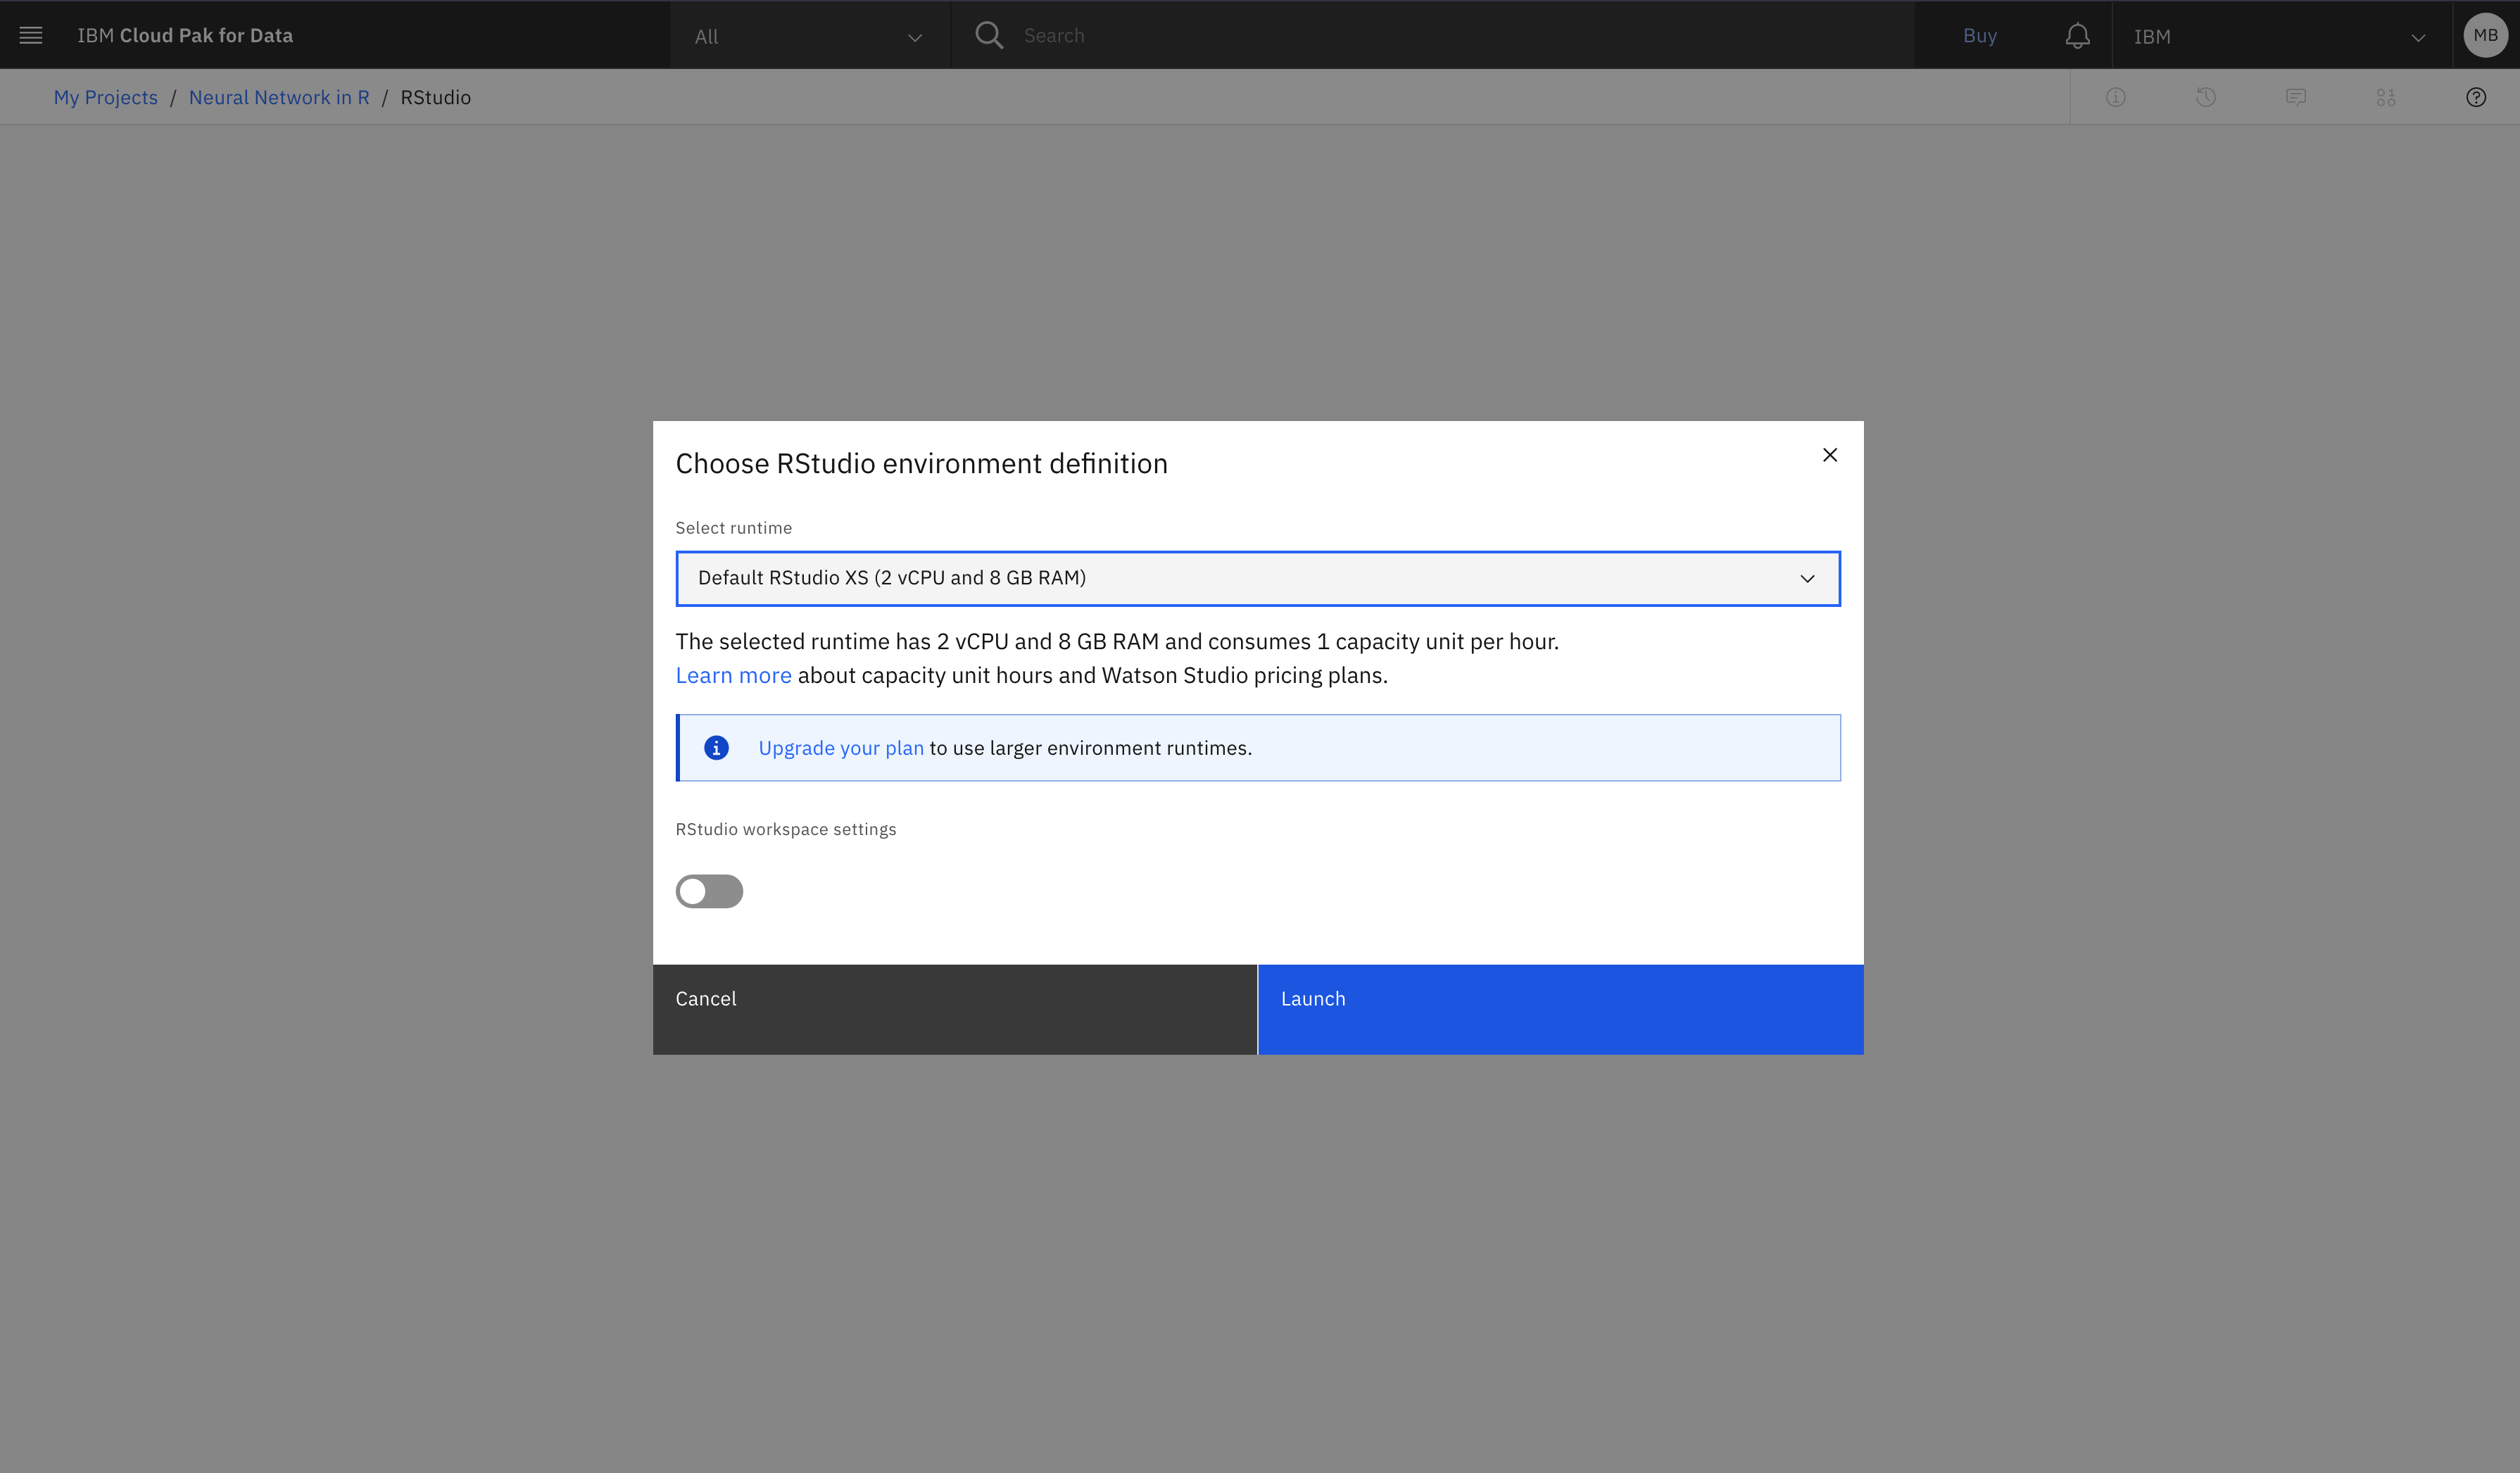
The RStudio window opens.
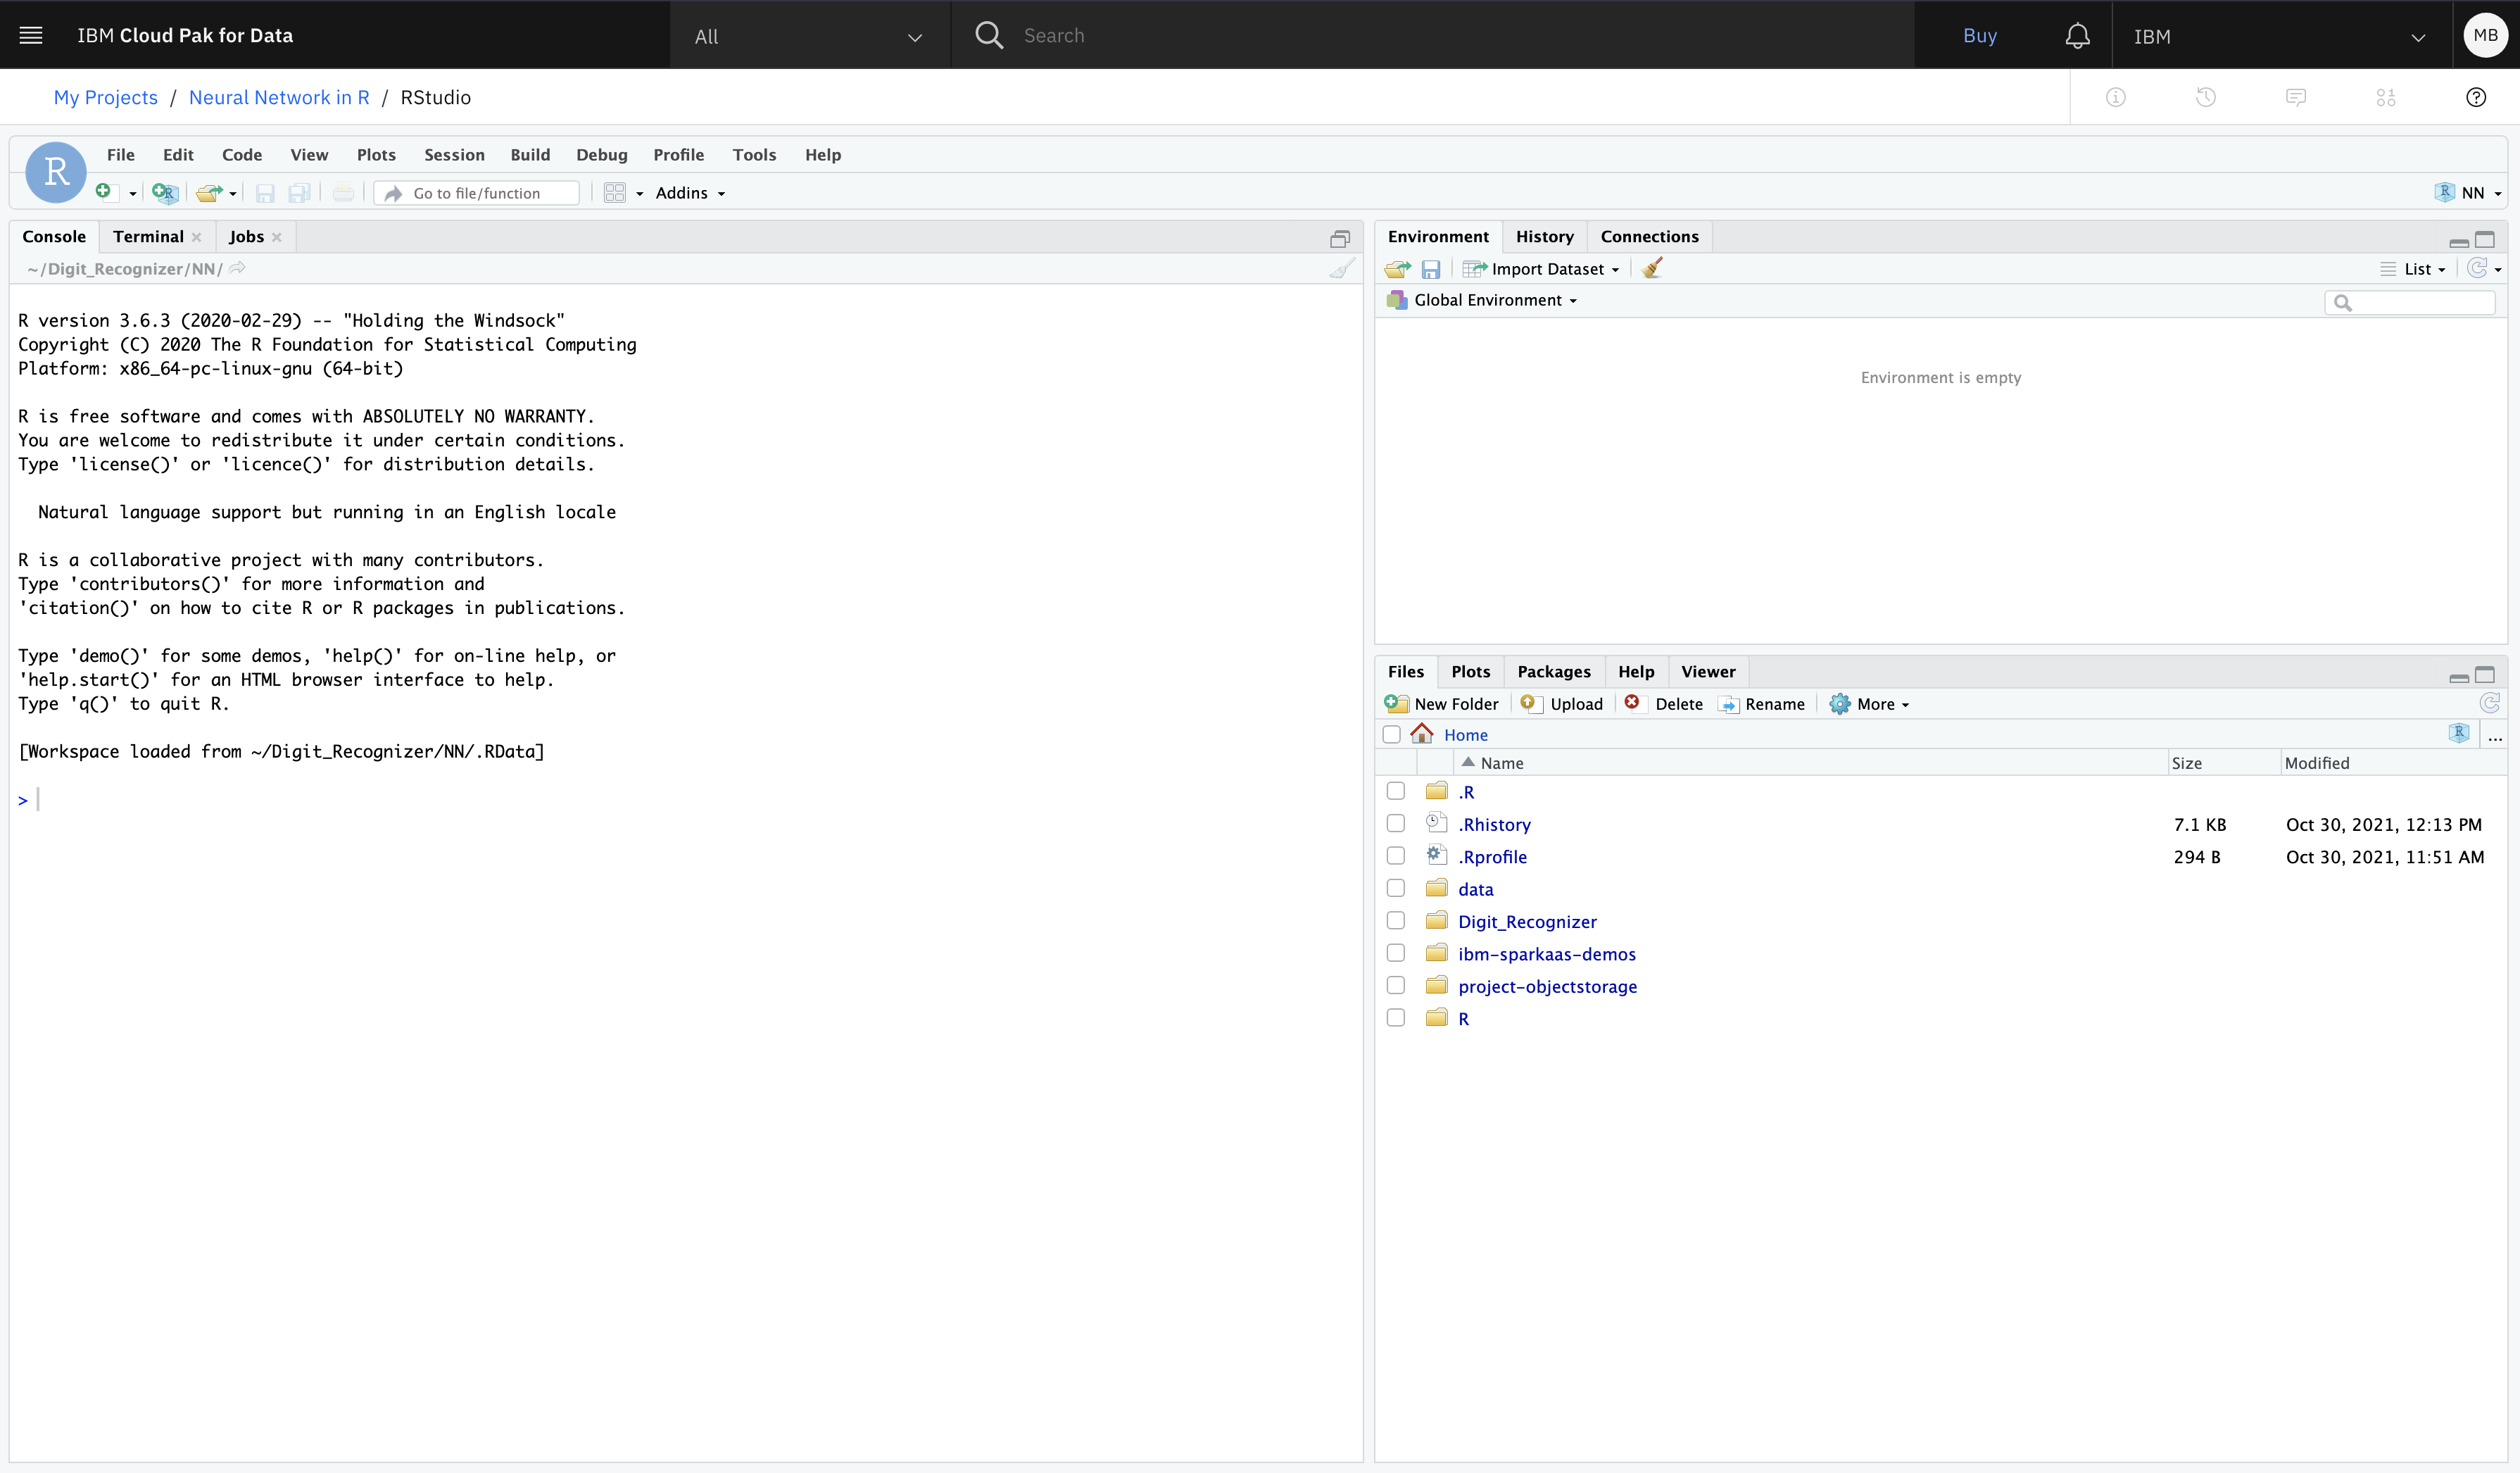
Add the files to your project
Select Files -> New Folder on the right side of the window, and name the folder.

Open the newly created folder, and upload the zip folder of the GitHub Repository.


Click More, and select Set As Working Directory.


Double-click and open the neuralNetwork.R file from the uploaded files.

Click Run, and execute each line individually. Wait for the arrow to appear before clicking Run to execute the next line.


After training the neural network, you can run the web application to recognize handwritten digits. However, you must install some packages first. Enter the following commands in the console window.
Installing shiny package:
install.packages(“shiny”)Installing nnet package:
install.packages(“nnet”)Installing EBImage package:
install.packages(“BiocManager”) BiocManager::install(“EBImage”)Open the DigitRecognizer.R file from the uploaded files by double-clicking the file. Click Run App to run the web app. You can upload the sample images from the Sample-Images folder in the GitHub Repository that you downloaded earlier on your computer to test the application.

Conclusion
In this tutorial, you learned how to create and visualize a neural network that takes in a data set and trains a model to predict outcomes.