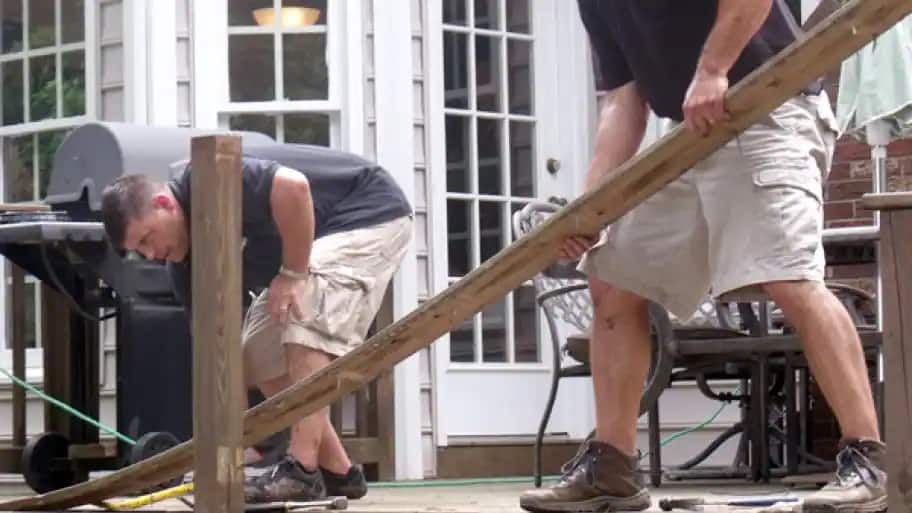
If you’re a homeowner with construction skills, you can figure out how to build a deck of any size.
A DIY deck may prove to be an affordable alternative, saving you thousands in professional labor costs if you do it correctly. If you think you're up to the task, check your local codes for building a deck and use the steps below to guide you.
Step 1: Decide on materials you want to use for constructing your deck. Check with several home improvement stores to ensure you get the best price. Be sure to know exactly how much of the material you will need when pricing. It is best to stay away from products that must be special ordered, as this can create complications and increase the project cost.
Step 2: Determine the size of the deck and create a building plan. You want to have a good idea for what you want to utilize your deck. This may include relaxation, barbecuing or entertaining. This will help to determine the size of the deck. Keep in mind that the larger the deck, the more expensive it will be to construct. Check with local officials, as some ordinances dictate how many feet from a structure fires or grills must be placed.
Step 3: To protect the home, you will need to install flashing. This is a metal material that will help to protect the home from drafts or water damage in the area where the deck is being constructed. To properly install flashing, bend 2 inches of this material to form a 90 degree angle away from the home and create a cut out for doors or windows.
Step 4: Proper preparation of a box sill is necessary so the deck will clear the basement or foundation surface of the home. For this step you will need to install furring boards, which are long strips of thin wood used to support the finished surface of the deck. Measure the proper placement by using a spacer from the same wood you will use for the surface of your deck. Place the spacer against the bottom of your home’s siding. Create a guide mark at the bottom of your spacer. This mark will be used to accurately attach the box sill to the home.
Step 5: To achieve desired results, it's necessary to properly place the center beam. Do so by placing a guide mark in the center of the box sill you just made.
Step 6: Install footers for the deck. Dig the area in which you plan to place your footers. Pour cement into the hole to help hold the footers in place. You can contact a contractor in your community to determine the ideal placement of the footers based on the size and conditions in your area.
Step 7: Create an outer support beam for the deck and cut your joists. This requires that you cut a 2-foot-by-8-foot piece of lumber which measures the entire width of your deck. This piece of lumber must be nailed securely into your box sill against the home. On the opposite end, you will need to use a scrap piece of wood to support your beam momentarily. Use a level to ensure that your beam is level before securing it in place. Create a guide mark every 16 inches for your joist location.
Step 8: Seat each of your joists. It is important to make sure that all of your joists are flush with the beam before you secure them in place. You can choose to install each of the joists using a nail gun, but a joist hanger should then be installed before completion for durability and strength. A joist hanger is made from metal and is designed for your joist to fit into it securely. Screw or nail the joist hanger into place.
Step 9: Create the surface area of your deck. This is done by securing your surface material in place. You can choose to either lay the materials right next to each without gapping or leave a uniform gap between each board. This is left to the individual’s discretion.
Step 10: Finish with your railing enclosure. There are many design plans that individuals can utilize for creating unique and elegant railings. There are ready made railings that you can purchase for deck enclosures.
Editor's note: This is an updated version of an article originally posted on June 23, 2013.


