

With a weekend and some elbow grease, you can make your driveway look new again
When you want to give a little boost to your home’s curb appeal, sealing the driveway is an effective and practical solution. This process makes your driveway look brand new, and it helps maintain the driveway for longer. Plus, going the DIY route can save you over $1 per square foot on the cost to reseal a driveway, as long as you’re willing to put in a weekend of hard work.
Difficulty: 4/5 Big project; big rewards.
Time: One to two days.
Tools and Materials Needed:
Hose with spray nozzle
Gloves
Stiff-bristled push broom
Oil degreasing detergent
Stiff-bristled brush
Old paintbrush
Poly sheeting
Sealant
Drill with a paddle attachment
Squeegee or broom sealant applicator
1. Plan for the Weather
Applying sealant is a delicate process that requires just the right temperatures and humidity levels for the smoothest application. Fortunately, you only need to reseal the driveway every three years, so tracking down the perfect weekend to do so only comes around once in a while.
Make sure there is no forecast for rain for at least three days. You want the driveway to remain dry for at least one day before and one day after applying each layer of sealant.
Opt for late spring, summer, or early fall to do this project. Temperatures should stay above 50 degrees Fahrenheit, even overnight, for the sealant to dry properly
Avoid temperatures above 95 degrees Fahrenheit. This can cause the sealant to dry too fast.
You may love the sleepy morning mist in your grass, but fresh sealant doesn’t. If you live somewhere with mist and dew in the early part of the day, plan to stop applying sealant by 3 p.m. to prevent it from washing off the next morning.
2. Trim Grass and Shrubs

Now that you’ve found the perfect weekend to tackle the driveway, it’s time to prep the area. Even if you’ve recently mowed, you might still have some grass overhanging along the edges of the driveway. Trim excess grass and shrubs to prevent the plants from interfering with the sealant application.
3. Clean the Driveway

Cleaning the asphalt driveway is a necessary step for resealing the surface. Asphalt sealant will not stick to the driveway if it is dirty.
Start by using a spray nozzle on the garden hose to rinse the driveway.
Apply a driveway cleaner and scrub it with a stiff-bristled push broom to remove all the dirt and debris.
Rinse again with a garden hose.
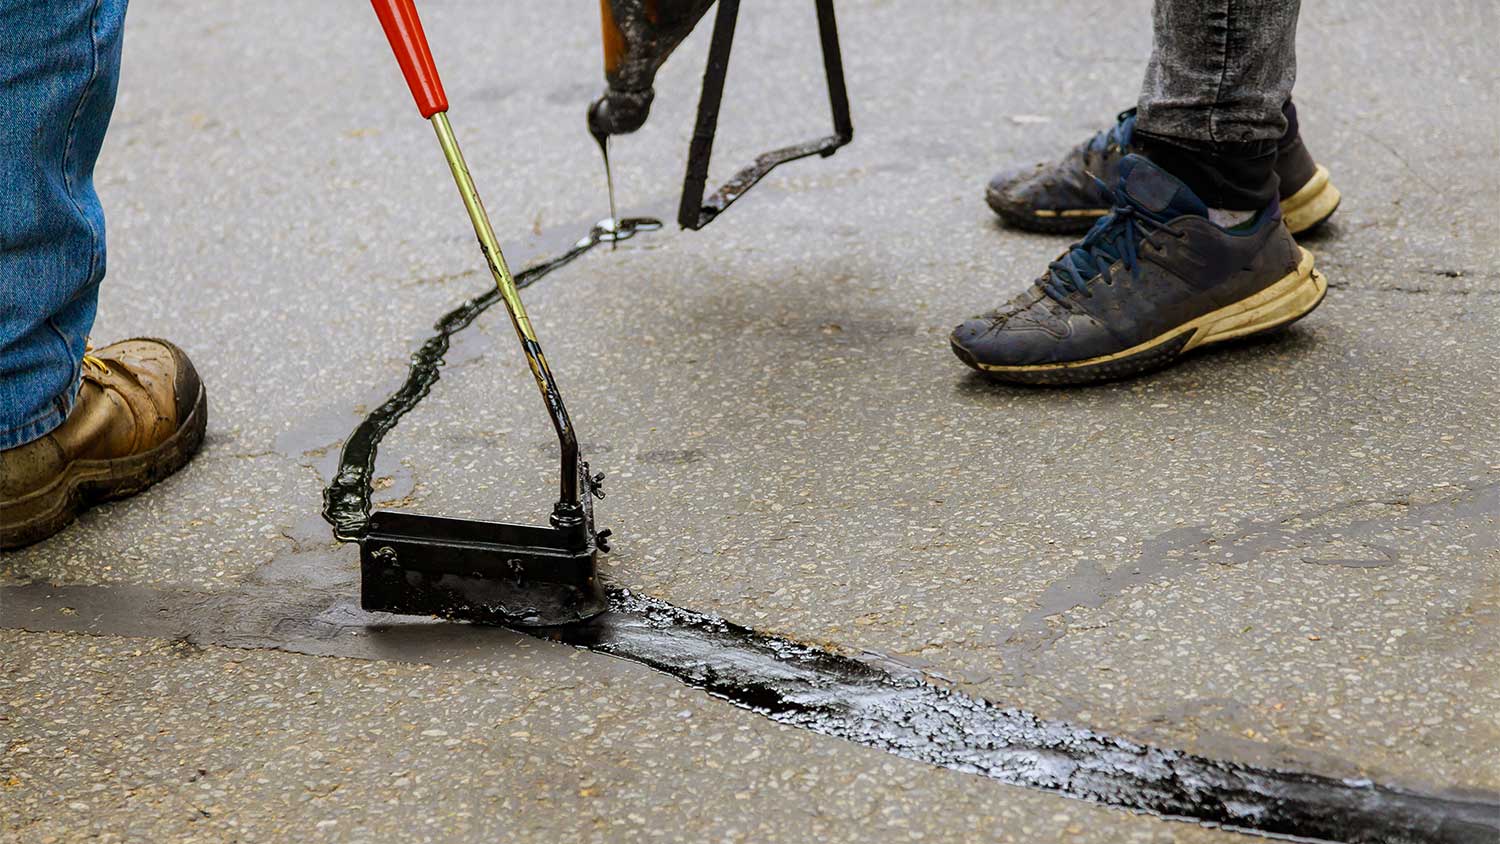
4. Scrub Away Oil Stains
Cars can leave oil residue along the driveway, but that greasy texture will prevent the sealant from adhering to the pavement in those spots.
Apply a degreasing detergent for asphalt.
Scrub the treatment into the spot with a stiff-bristled brush.
Rinse the area thoroughly with the hose.
Let the driveway dry completely before you plan to add sealant.
5. Patch Any Holes or Cracks
The sealant will refresh your driveway, but it won’t effectively fill in holes or cracks. Before you apply sealer, you should patch any imperfections. Follow the manufacturer’s instructions for how to mix, apply, and dry the patching agent. Let the patchwork fully dry before applying sealant.
6. Mix the Sealant
Choosing the right driveway sealer depends on your preferences, but you may want to consider UV and oil protection and water resistance when making your choice. Once you find the right sealant for you and you’ve prepped the driveway, you can start mixing. Mixing sealant is hard to do with just a stir stick, so it’s best to use a drill instead.
Turn the sealant container, unopened, upside down the night before you plan to mix it. This will make it easier to mix when you need it.
Cut a hole in the center of the lid to insert the drill and paddle. Keeping the lid on helps prevent splashing.
Use a drill with a paddle to stir the sealant.
Start mixing with the paddle toward the top of the sealant, then slowly lower it deeper into the container of sealant and back up.
7. Cut In the Edges
Now, it’s time to start applying sealant along the perimeter of the driveway. Be sure to tape off the edges of the garage walls and sidewalks and add poly sheeting to your garage door before you start. Use an old, wide paintbrush to apply a generous layer of sealant along the edges of the driveway. This will achieve neat, clean edges for the asphalt driveway.
8. Apply a Thin Coat of Sealant

Prepare to spend a couple hours applying the first coat.
Pour about 2 gallons of sealant slowly in a U-shape, starting in a top corner of the driveway.
Use the squeegee to spread the sealant in a thin layer across the driveway, working from top to bottom or one side to the next.
Once you get about halfway through a bucket of sealant, start mixing the next bucket. This will prevent differences in color if you need multiple containers of sealant.
Let the first coat dry for eight hours.
9. Add a Second Thin Coat
Repeat the process of applying a coat of sealant a second time, again working from a top corner to the end of the driveway in small sections at a time.
10. Allow Even More Dry Time
It’s tempting to hop in the car and drive across the smoothed-out surface of the driveway, but resist that urge and admire your work while standing in the front yard. You’ll need to wait 24 to 48 hours before you can drive on it.


