Install a custom TLS certificate
TLS certificates from Let’s Encrypt are available for domains on the VIP Platform by default, but provisioning custom TLS certificates from other certificate authorities is also an option. Custom TLS certificates require a Certificate Signing Request (CSR). A CSR can be generated by VIP or by the certificate authority generating the custom TLS certificates.
Prerequisites
Users must have access to the VIP Dashboard to issue TLS certificates for a domain.
Requirements
- Certificates must include both “www” and the root version of a hostname, so a SAN or wildcard certificate is recommended.
- The maximum certificate length that can be accepted by VIP is 398 days.
- Certificates must be in PEM format.
- The certificate chain must include one or more trusted certificates (also known as “Intermediate certificates“) provided by a Certificate Authority (CA).
- Trusted certificates are publicly available. If a trusted certificate is missing from a certificate chain, it can be retrieved from online tools such as KeyCDN.
- A custom TLS certificate can be generated and installed before the DNS for a domain is pointed to VIP.
Custom certificates with a VIP CSR
A certificate signing request (CSR) from VIP is required in order to obtain a custom certificate from a Certificate Authority (CA). It contains the necessary information, plus VIP’s authorization, that the CA needs to process a certificate.
- Navigate to the VIP Dashboard and select the “Domains” panel option at the left.
- Add the domain by selecting the “+ Add Domain” button in the upper right if it does not yet appear in the Domains list.
- A button labeled “Install Certificate” will be displayed to the right of newly added domains in the Domains panel.
- Select the “Install Certificate” button to access and select the “Custom Certificate” option in the dropdown.

Generate a Certificate Signing Request (CSR)
- Select the “Create New CSR” tab.
- Complete the requested information for each field and select “Generate CSR“.

Create your certificate
Copy or download the generated CSR and provide the CSR to a Certificate Authority.

Upload the Certificates
Once the Certificate Authority has generated and provided a certificate and a chain of trusted certificates, resume the installation process.
- Navigate to the VIP Dashboard and select the “Domains” panel option at the left.
- A button labeled “Install Certificate” will be displayed to the right of newly added domains in the Domains panel.
- Select the “Install Certificate” button to access and select the “Custom Certificate” option in the dropdown.
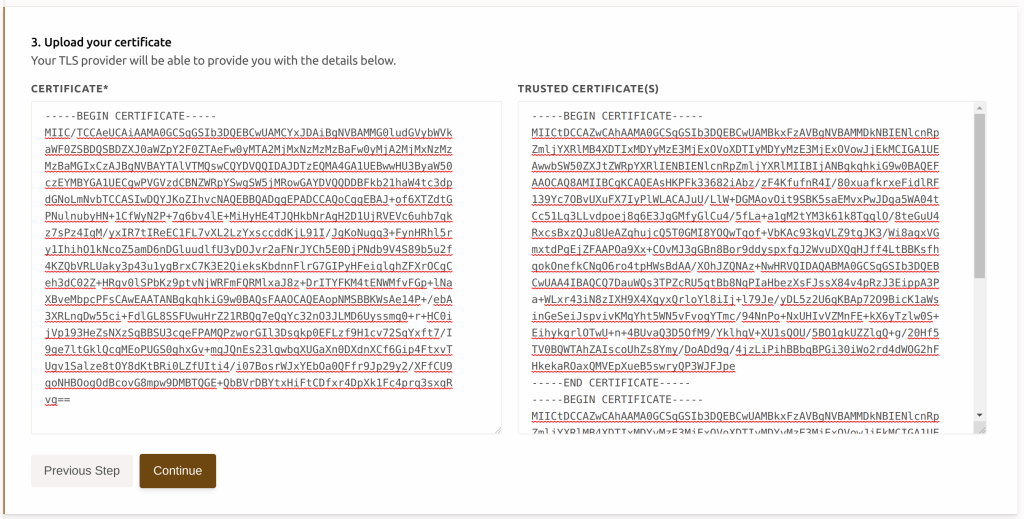
Paste the contents of the certificates in each form (Certificate and Trusted Certificate(s)) and select “Continue“.
Activate the custom certificate by following the instructions below.
Custom TLS certificates with a non-VIP CSR
To install a custom TLS certificate for a domain with a non-VIP CSR, customers must have in their possession a complete certificate chain generated by a Certificate Authority. A complete certificate chain includes:
- CSR
- Private key
- Leaf certificate
- Trusted certificates (also known as “Intermediate certificates“)
Install custom certificate
- Navigate to the VIP Dashboard and select the “Domains” panel option at the left.
- Add the domain by selecting the “+ Add Domain” button in the upper right if it does not yet appear in the Domains list.
- A button labeled “Install Certificate” will be displayed to the right of newly added domains in the Domains panel.
- Select the “Install Certificate” button to access and select the “Custom Certificate” option in the dropdown.
- Select the “I already have a CSR” tab.

Upload a certificate chain
- Open the complete certificate chain files in a text editor.
- A field exists for each of the four parts of the complete certificate chain. One at a time, copy the contents of a complete certificate chain file from the text editor and paste the contents into its corresponding field. Repeat for all four files.
- Select “Upload“.

Activate a custom certificate
Choose your domains
After uploading a certificate chain:
- Click on the dropdown below the “Domains” label.
- Select the domain for which the new custom TLS certificate is being installed.
- Select “Activate Certificates“.

Confirm the certificate is working
- New TLS certificates may require up to 10 minutes to be enabled for a domain.
- Use a free online TLS testing tool such as SSLShopper or DigiCert.
- Browsers such as Firefox and Chrome provide tools for checking if a site’s connection is secure.
Switch from a custom TLS certificate to a Let’s Encrypt certificate
After a custom TLS certificate has been provisioned, it is possible to switch to a Let’s Encrypt TLS certificate at any time.
- Navigate to the VIP Dashboard and select the “Domains” panel option at the left.
- Click on the three dots (“···“) to the right of the domain.
- Select the “Install Let’s Encrypt” option from the dropdown.
- Follow the instructions for installing a Let’s Encrypt certificate.