
There are a lot of things to consider when you decide to build a website. Figuring out what you need to get your site started can be time-consuming and even confusing. In addition, the process you’ll follow will vary widely based on the tools you’re using.
Fortunately, if you choose WordPress to build your website, you can get it up and running quickly. Plus, here at DreamHost, we want you to be confident as you start designing and customizing your website, so we have lots of tools and resources to help you on your way.
In this article, we’ll cover everything you need to know to get your first website off the ground. Let’s dive right in!
The Key Elements You’ll Need to Create Your Website
It’s become increasingly easier to develop and launch websites over the years. It helps that there are many tools available for users of all skill levels. WordPress, in particular, is a powerful and flexible platform that’s ideal for both beginners and experts.
There are a few other items you’ll need to get started, however. We’ll cover these in more detail later on, but let’s summarize the basics now:
- Web hosting. This is a service that provides physical server space where your website is stored.
- Domain name. Since it’s the gateway to your website, you’ll want to pick a strong name.
- Site builder tools. Site builders are optional tools that can drastically reduce the time it takes to launch a website.
- Themes. These packets of code create the look and feel of your website.
- Plugins. Extending the functionality of your default WordPress site is easily accomplished with these add-ons.
Once you’ve chosen your platform (e.g., WordPress), hosting should be your next consideration. The good news is that building your website on our Shared Unlimited hosting plan means you’ll hit the ground running with a whole host of helpful tools and resources.
How to Build Your First Website With DreamHost and WP Site Builder (In 7 Steps)
At this point, it’s time to dive in and get started. Let’s walk through the process of putting your website together, one step at a time.
Step 1: Sign Up for a Hosting Plan
In order to showcase your website to the world, you’ll need a web hosting service. Web hosts provide the physical server space you’ll need for your site’s files. Everything that makes up your website will “live” on that server, and be made accessible to visitors through their browsers.
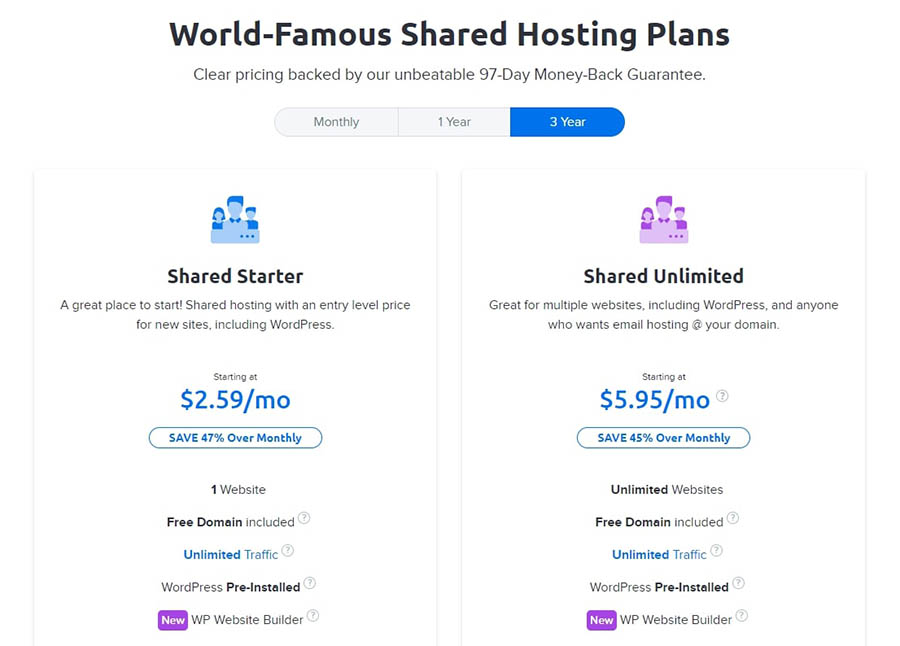
Shared web hosting is one of the most popular kinds of plans. That's because it’s a cost-effective way to get started with a website. Shared plans are inexpensive since you’ll share the space on a physical server with other users, but no one will be able to access your site’s files.
Our Shared Unlimited hosting plan is an excellent way to get started with WordPress. Not only will you be able to have WordPress pre-installed and ready to go, but you can host unlimited websites as well. Additionally, you’ll be free to welcome unlimited traffic to your site, with no fees for overages.
To get started with your Shared Unlimited plan, you’ll need to create a DreamHost account. You can do this by adding the plan to your cart and checking out.

You’ll also want to pay attention to a few options during the checkout process. For example, you can select the boxes related to installing WordPress and enabling WP Site Builder, and have those tasks taken care of during registration.
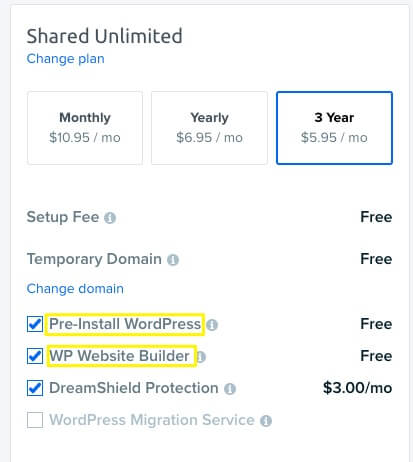
Once you pay for your plan, you’ll be all set. You’ll receive the information you need to get started via email after the checkout process is complete.
Step 2: Get Comfortable With Your DreamHost Panel
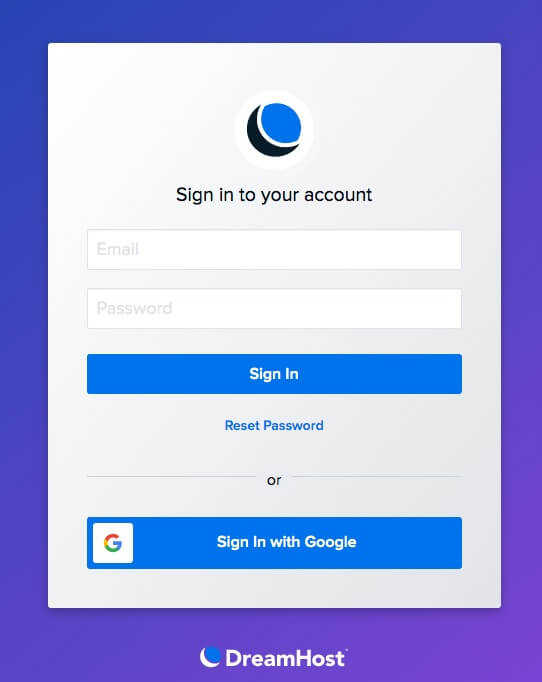
Once you’ve purchased your DreamHost plan, you’ll be able to log in to your personal control panel. Many of the tools you need to manage and run your website will be located there. Simply visit the DreamHost user panel login page and use the email and password you chose during your account setup.
Once you are logged into your user panel, you’ll see a variety of elements that will help you manage your website:
- Domains. This menu provides you with access to manage your registered domains or add new ones.
- WordPress. Here you can manage one-click installations or access DreamPress services if you purchased them.
- Mail. In this menu area, you’ll be able to configure all aspects of your website-related email.
- Users. If you need to add users to the account with varying levels of access and privileges, this part of the menu has the options you’ll need.
- MySQL Databases. Found under the More accordion menu, you can use this option to access your MySQL databases.
The DreamHost user panel is designed to give you easy navigation to the website management tools you need most. You can think of it as your headquarters for building your website.
Step 3: Register a Domain
Your website’s domain is the primary URL for your site (https://mysite.com) and is how visitors will find it online. You have to purchase and register a domain before making your site live. You’ll also want to give your domain name a lot of thought since it can be difficult to change.
Our Shared Unlimited hosting plan comes with a free domain name registration credit. This credit is available for plans registered on an annual basis and must be used within the first 3 months of your contract. In other words, you get a free domain, and you can select it right away or take up to a month deciding on the perfect name.
If you did not register a domain as part of your account setup, you can visit your DreamHost control panel to do so at any time. Just navigate to Domains > Registrations.

From there, you’ll be able to search for the name you’re interested in. If it’s available, you’ll be given the option to add it to your cart.
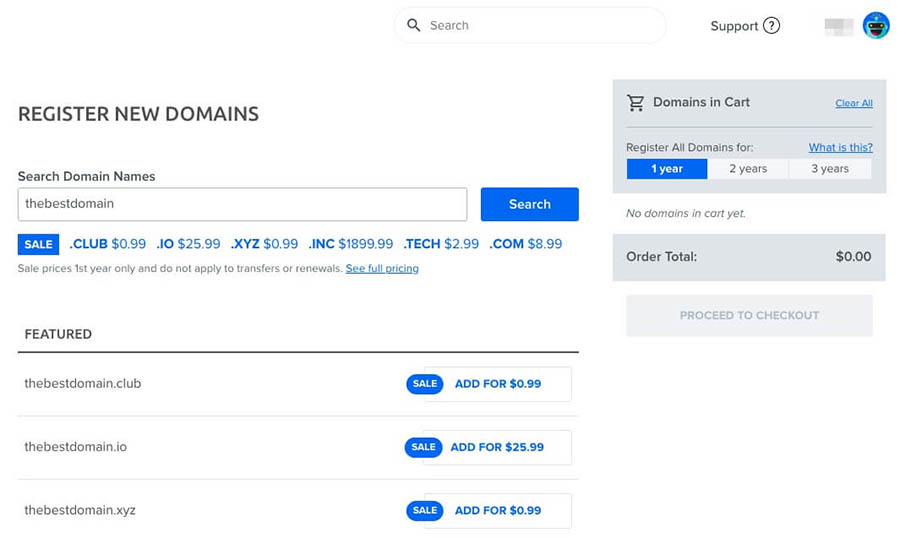
Once in the cart, you can decide whether to purchase the domain for one, two, or three years. It can take 24 to 72 hours for your domain to be accessible online, so you’ll want to tackle this task right away if possible.
Step 4: Access and Customize Your New WordPress Website
If you did not enable WP Site Builder during your DreamHost account setup, you can contact support to have it turned on. This is an indispensable tool for designing your website, especially if you’re on a tight timeline.
Depending on the services you’ve chosen, you may also have some one-click options for accessing your WordPress admin page. However, if you’re using an Unlimited Shared plan, you can simply go to yourwebsitename.com/wp-admin to log in.
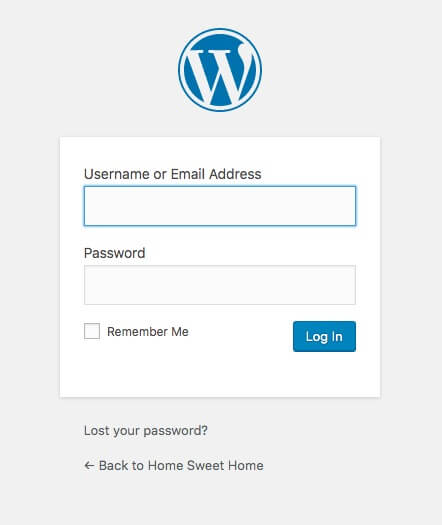
Additionally, you can refer to the email you received after setting up your account. This will contain important links that will guide you through setting a password and logging into your WordPress admin dashboard.
Using the Site Builder
The first time you visit your WordPress website dashboard after enabling WP Site Builder, you’ll be greeted by a “getting started” wizard. You’ll need to select the Let’s Get Started! button to begin using the builder.

You can start by choosing a theme for your website from a diverse menu of categories.

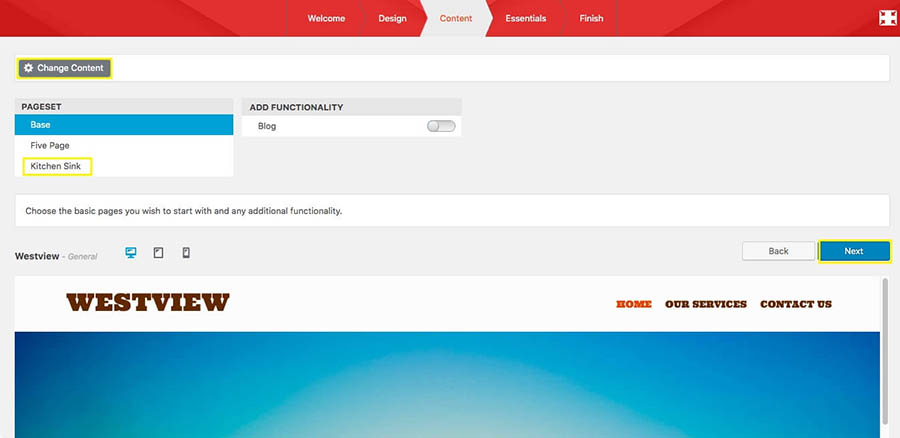
Once you select the best one for your website, you’ll have some choices about what pre-set page options you want to start with. There is also a Kitchen Sink option, which gives you a chance to try everything.
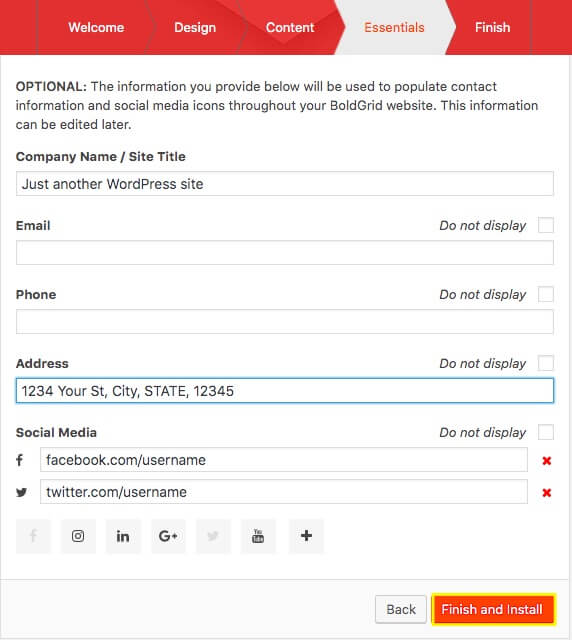
Next, the site builder has an optional form where you can fill out information about your website. This data is used to populate certain areas of your site automatically and can be edited later if you need to change something.
Once the installation is complete, you’ll be back in your WordPress dashboard, and a new Inspirations menu item will be available. You can use that as the gateway for editing your WP Site Builder theme and accessing other configurations.
Additionally, if you decide to start over with a new theme at any time, you can do so from the Inspirations menu.
Step 5: Add an SSL Certificate to Your Site
Secure Sockets Layer (SSL) certificates secure the transmission of sensitive information across the web. This means you’ll be able to offer your site’s users the promise of secured interactions. You can tell if a website is using SSL because its URL will include “https” rather than just “http.”
If you’re using DreamHost to operate a personal website or blog, you can take advantage of our free SSL certificate offer. Alternatively, if you plan on running an e-commerce website, you might want to check out our partnered offer with Sectigo Verified SSL.
Either way, to add an SSL certificate to your DreamHost website, you’ll first need to navigate to Manage Domains > SSL/TSL Certificates in your DreamHost user panel.

Your domains will be listed here, and you can click on the Add button next to the one you want to add a certificate to. You’ll then have two options.
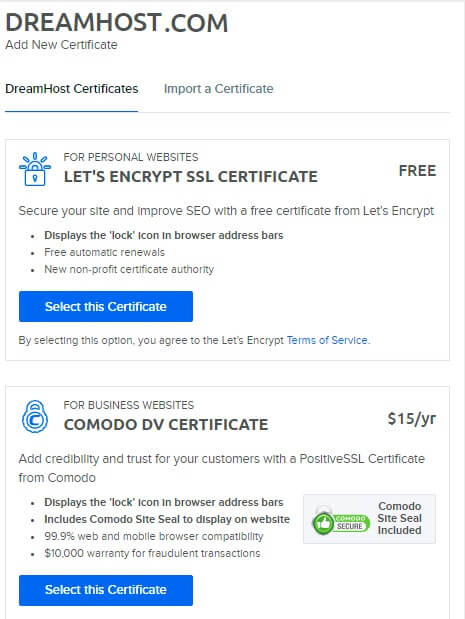
The free Let’s Encrypt SSL certificate is designed to secure your personal website, while the Comodo certificate from Sectigo comes with a site seal that you can embed within your website as an additional trust symbol for $15 per year.
You can also import a third-party SSL certificate if you’d like. In your SSL/TSL Certificates > Add menu, you’ll find an Import a Certificate option. From there, you’ll be able to import information from another certificate provider.
Step 6: Set Up an Email Address
While providing social media options for connecting with your website visitors is smart, having a website-related email address is still recommended. Fortunately, our Shared Unlimited hosting plan also comes with unlimited email.
You can access all your mail settings from the DreamHost user panel by clicking on Mail.

From the Mail menu, you can add a new email address or access your inbox through WebMail. Additionally, you can set up AntiSpam, Announcement Lists, and Autoresponders, among other options.
Step 7: Add DreamShield Malware Remover to Your Account
After putting so much time and effort into building your new website, you’ll want to make sure it’s protected from malicious code or software. You can do that by adding DreamShield to your domain.
To do so, in your DreamHost user panel, navigate to Domains > Manage Domains, and you’ll find the DreamShield option.
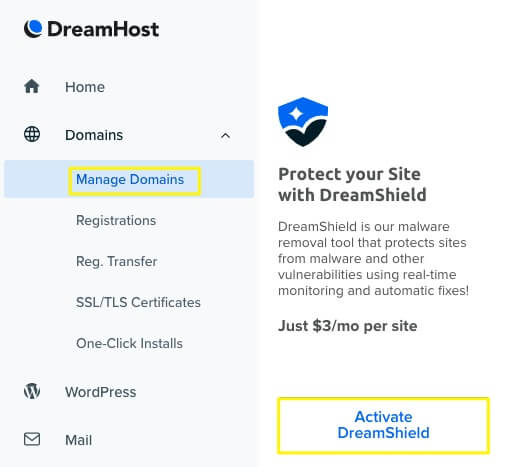
DreamShield is an add-on service for $3 per month. Your site will be scanned regularly for malware, and you’ll be notified via email if any is found. You can also add DreamShield during your account registration, and have the option to remove it at any time from your user panel.
Conclusion
Starting a website from scratch with a new web host means you probably have a lot to think about. Here at DreamHost, we want to help you attend to all the crucial elements quickly and effectively.
To get your new WordPress website up and running, just keep in mind these important steps. You’ll want to:
- Sign up for a hosting plan.
- Get comfortable with your control panel.
- Register a domain.
- Access and customize your site.
- Add an SSL certificate.
- Set up an email address.
- Add DreamShield for malware protection.
We’re always here to support your WordPress projects. Check out our Shared Unlimited hosting plan today!