I know I’ve said this before, but building Gutenberg blocks has honestly never been easier. Better tools, more detailed documentation, and clearer examples are finally here – paving the way for developers to quickly dive into the art of block building, and in particular, building block plugins.
So what’s the big deal about block plugins?
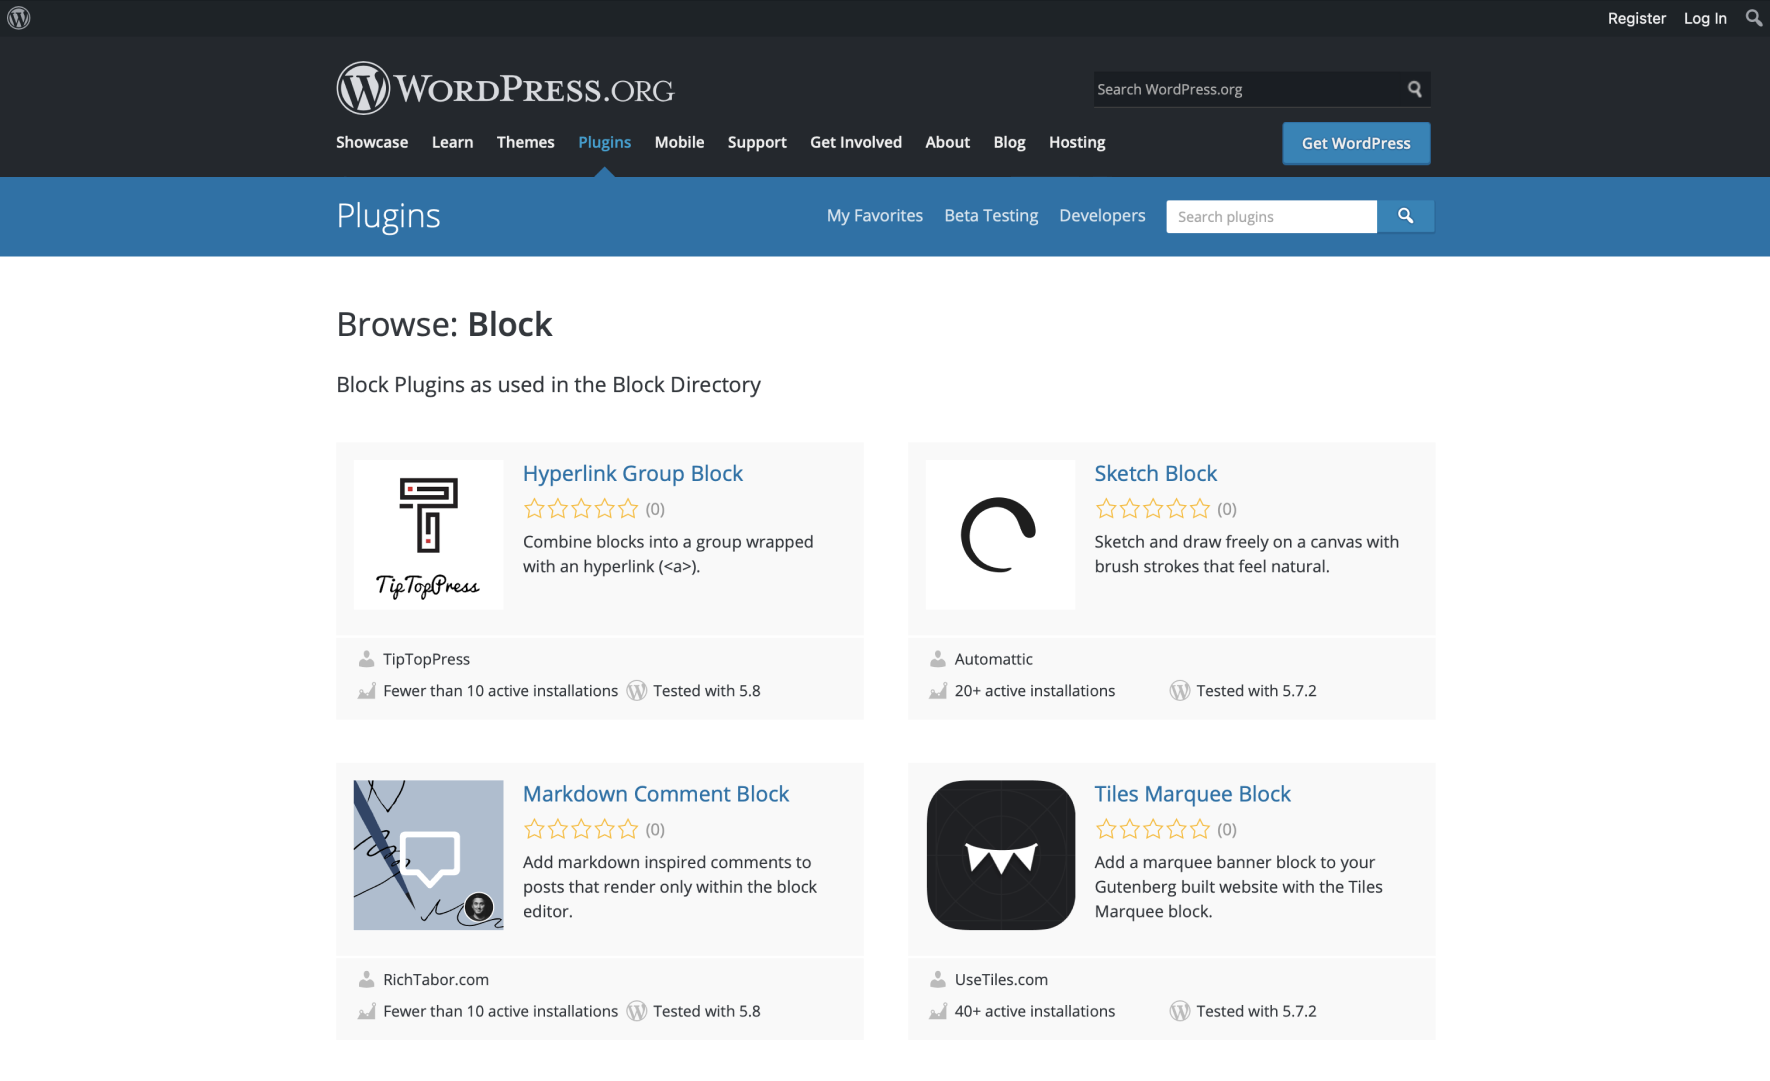
In short, this relatively new classification of plugins empowers WordPress users to publish with “blocks on demand.” I wrote a primer on block plugins last week if you’re interested in the “why” behind block plugins, but ultimately WordPress users running Gutenberg will be able to just about instantly add any new block block to any page. Very cool. Very empowering.
So let’s explore how to build and publish Gutenberg block plugins for the WordPress Block Directory so you can jump in on this action.
1. Scaffold a block with Create Block
Back when Gutenberg was first taking off, tools such as the create-guten-block package, and WP CLI wp scaffold block command, quickly became the chief methods for scaffolding Gutenberg blocks.
Since then, these tools have been abandoned/deprecated, now encouraging developers to use the new @wordpress/create-block package instead. I recently opened an issue to officially deprecate create-guten-block, if you’d like to chime in there.
Anyhow, if you have not used the Create Block package — it is fantastic. It offers a modern build setup with zero configuration necessary, generating PHP, JS, SCSS and everything you need to kick-start a block.

You should certainly give it a shot with your next block, even if you’re not purposely building it for the WordPress Block Directory.
There are a few nuances and guidelines of single block plugins, which I went into detail on a few days ago, that you really do not want to miss. Using the Create Block package is your best bet on getting your block off to a good start.
2. Build the block
Once the block is scaffolded, it is time to build out the block. The Create Block package will get your plugin set up and block scaffolded, but you obviously need to take it from there and create the edit and save functions for your block.
It is important to note that blocks created as block plugins are required to be registered by using metadata from a top-level `block.json` file. This simplifies block registration and allows the block to be identified within the Block Directory.
I won’t go into the minute details of creating the block, past these pointers, but here’s a great tutorial on building with Create Block from WordPress.org.
3. Run the Block Plugin Checker
Once you’ve built out the block, it’s time to run it through the official Block Plugin Checker before submitting the plugin to the WordPress plugins directory.
The Block Plugin Checker is a tool hosted on WordPress.org that helps determine if a WordPress single block plugin is properly built for inclusion in the Block Directory.

You need to be logged into your WordPress account to access the checker, but you may link to an existing plugin slug, Github URL or even SVN repository URL — or simply upload a zip of your new block plugin.
Errors will each be clearly indicated by the Block Plugin Checker, stopping the ability to add the new block to the Block Directory. “Fatal” issues include callouts for when you’ve added more than one top-level block, and if there’s a high volume of PHP code. These must all be resolved before you may add the block to the directory.
Once you’re in the clear with the Block Plugin Checker its time to upload your new block plugin to the WordPress Plugins Directory.
4. Upload the block to the Plugins Directory
Block plugins are still WordPress plugins, meaning they need to be added to the official WordPress Plugins Directory before they may be included as part of the WordPress block directory. And of course, block plugins are required to follow standard WordPress plugin guidelines, in addition to guidelines specific to Block Plugins — but there’s nothing too wild in there.
Once you’re ready, submit your plugin and hold tight for a review. When I uploaded the Markdown Comment block, it only took a couple hours to be approved — it’s quick.
Once approved, upload the plugin via the provided SVN repository (make use of the 10Up/action-wordpress-plugin-deploy Github action to make this a breeze) and you’re all set to add the block to the WordPress Block Directory.
5. Add the block to the WordPress Block Directory
Now that your new block plugin has been uploaded to the WordPress Plugins Directory, it is time to add the block to the Block Directory. This way the block will be available wherever Gutenberg is used.
Head back to the Block Plugin Checker, type in your plugin slug, and run the checker once again. If all is well (which it should be, since we’ve already checked the block once before), click on the “Add to the Block Directory” button in the Committer Tools section and your block will be available to everyone shortly.
In this same view, you may also remove a block from the Block Directory, for whatever reason.
The time is now
And that’s it. Adding a block plugin to the WordPress Block Directory is relatively straightforward. Starting off with a solid foundation by using the Create Block package will certainly help when it comes to building a proper block plugin for the Block Directory.
Eventually, the Block Directory will become the de facto way to discover new blocks. It is on each of us to take part in envisioning, designing, building, and deploying blocks that will further empower publishing within WordPress.
The time is now, and I’m all in — are you?

