Add Email » Add Email through other providers
If you want to use an email provider that is not listed in our Add Email page, you will need to obtain the custom DNS records from your provider. If the information is not available on their website and you are unsure of what to ask, please include the following paragraph when you contact your email provider:
Could you please provide me with the complete MX and/or other DNS records I will need to enter on WordPress.com’s end, so that my email on this domain will function?
The DNS records will consist of one or more MX records, and often an A record and/or a CNAME record as well. Refer to our support page about custom DNS records in order to format your records correctly. Then follow the steps below to add them to your domain.
Watch a video on how to add custom Email DNS records below.
- Go to My Sites → Upgrades → Domains and click on the domain you’d like to use with your e-mail provider.

2. Select Change your name servers & DNS records.
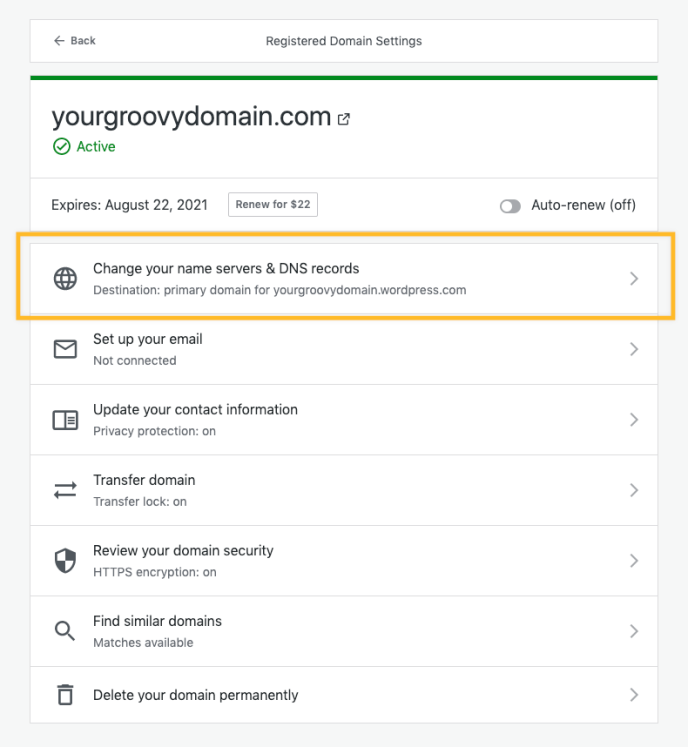
3. Click DNS Records.

4. Scroll to the bottom of the page and select the type of record you’d like to add from the dropdown.

5. Enter the information as provided by your email provider and click the Add New DNS Record button to save the record. Repeat this step for each record you wish to add.
It could look like this example, but with your own records displayed:

Your email should begin working within 72 hours after all the DNS records from your email service provider have been added.
Examples
MX Record
@ 10800 IN MX 50 mail.example.net.

CNAME Record
imap 10800 IN CNAME access.mail.example.net.

Versatile plans and pricing
-
Free

Best for students
-
Personal

Best for hobbyists
-
Premium

Best for freelancers
-
Business

Best for small businesses
