Note: User provisioning for organizations in your enterprise accounts, currently supported only for Okta, is in private beta and subject to change. To request access to the beta, contact our account management team.
About SAML with Okta
You can control access to your enterprise account in GitHub and other web applications from one central interface by configuring the enterprise account to use SAML SSO with Okta, an Identity Provider (IdP).
SAML SSO controls and secures access to enterprise account resources like organizations, repositories, issues, and pull requests. For more information, see "Enforcing SAML single sign-on for organizations in your enterprise account."
Prerequisites
You must use the "Classic UI" in Okta. For more information, see Organized Navigation on the Okta blog.

Adding the GitHub Enterprise Cloud application in Okta
- In Okta, in the upper-right corner, click Admin.

- In the Okta Dashboard, click Applications.

- Click Add application.

- In the search field, type "GitHub Enterprise Cloud".

- Click "GitHub Enterprise Cloud - Enterprise Accounts".
- Click Add.
- Optionally, to the right of "Application label", type a descriptive name for the application.

- To the right of "GitHub Enterprises", type the name of your enterprise account. For example, if your enterprise account's URL is
https://github.com/enterprises/octo-corp, typeocto-corp.
- Click Done.
Enabling and testing SAML SSO
- In Okta, in the upper-right corner, click Admin.
- In the Okta Dashboard, click Applications.
- Click the label for the application you created for your enterprise account.
- Assign the application to your user in Okta. For more information, see Assign applications to users in the Okta documentation.
- Under the name of the application, click Sign on.

- To the right of Settings, click Edit.
- Under "Configured SAML Attributes", to the right of "groups", use the drop-down menu and select Matches regex.
- To the right of the drop-down menu, type
.*.*. - Click Save.
- Under "SIGN ON METHODS", click View Setup Instructions.

- Enable SAML for your enterprise account using the information in the setup instructions. For more information, see "Enforcing SAML single sign-on for organizations in your enterprise account."
Creating groups in Okta
- In Okta, create a group to match each organization owned by your enterprise account. The name of each group must match the account name of the organization (not the organization's display name). For example, if the URL of the organization is
https://github.com/octo-org, name the groupocto-org. - Assign the application you created for your enterprise account to each group. GitHub will receive all
groupsdata for each user. - Add users to groups based on the organizations you'd like users to belong to.
Enabling SAML user provisioning
-
In the top-right corner of GitHub, click your profile photo, then click Your enterprises.

-
In the list of enterprises, click the enterprise you want to view.
-
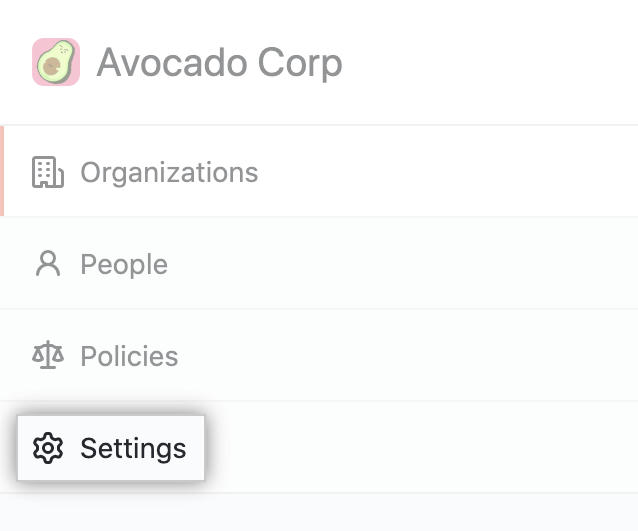
In the enterprise account sidebar, click Settings.
-
In the left sidebar, click Security.

-
Under "SAML User Provisioning", select Enable SAML user provisioning.

-
Click Save.
-
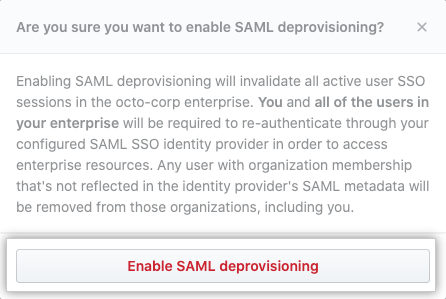
Optionally, enable SAML user deprovisioning.
- Select Enable SAML user deprovisioning, then click Save.

- Read the warning, then click Enable SAML deprovisioning.
- Select Enable SAML user deprovisioning, then click Save.