If you already have the Akismet plugin installed and activated on your WordPress site, you can skip to step #5.
You can activate Akismet in your blog’s WordPress dashboard by following these steps.
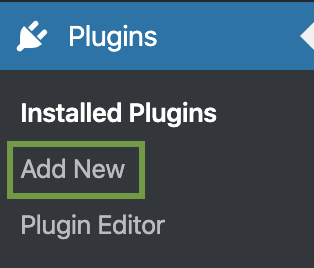
1. First, get the Akismet plugin by going to Plugins -> Add New:
2. Type in Akismet in the search box and hit enter/return:

3. Typically, the first search result is correct. Make sure the plugin’s author is Automattic and click on Install Now:

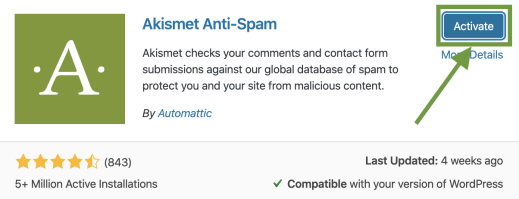
4. Wait for the install to finish, then click on the blue Activate button:
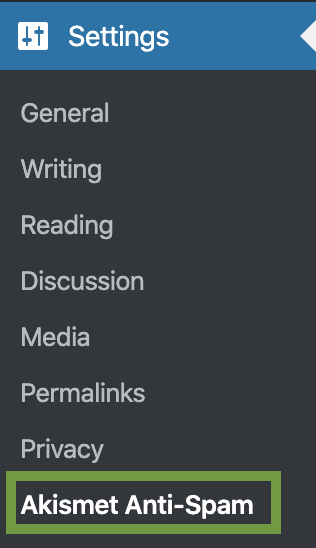
5. After the plugin has been activated, go to Settings -> Akismet Anti-Spam
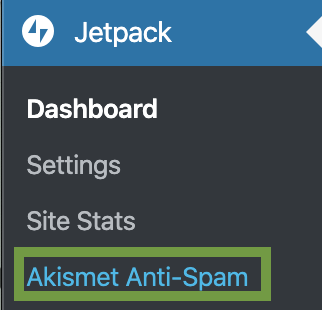
If you have Jetpack installed, you’ll find the Akismet menu under Jetpack -> Akismet Anti-Spam instead:
6. If you already have an API key, click the Manually enter an API key section link and enter your API key.
If you don’t already have an API key, then click on the Set up your Akismet Account button, and you’ll be guided through the process of getting one in a new window.
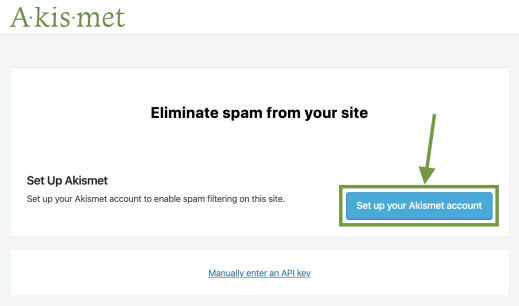
7. If you have Jetpack installed and have a paid plan that includes an Akismet key, click on the Connect with Jetpack button:
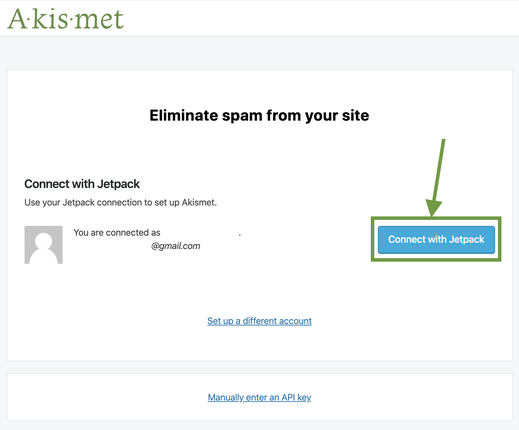
8. If you’re connected with Jetpack, but would like to use a different API key, feel free to click the Manually enter an API key link and enter your API key.
And that’s it. If you’d like to test Akismet and confirm it is working, see this guide for steps.
If you run into any troubles activating the service, feel free to get in touch.