About FUNDING files
You can configure your sponsor button by editing a FUNDING.yml file in your repository's .github folder, on the default branch. You can configure the button to include sponsored developers in GitHub Sponsors, external funding platforms, or a custom funding URL. For more information about GitHub Sponsors, see "About GitHub Sponsors."
You can add one username, package name, or project name per external funding platform and up to four custom URLs. You can add up to four sponsored developers or organizations in GitHub Sponsors. Add each platform on a new line, using the following syntax:
| Platform | Syntax |
|---|---|
| CommunityBridge | community_bridge: PROJECT-NAME |
| GitHub Sponsors | github: USERNAME or github: [USERNAME, USERNAME, USERNAME, USERNAME] |
| IssueHunt | issuehunt: USERNAME |
| Ko-fi | ko_fi: USERNAME |
| Liberapay | liberapay: USERNAME |
| Open Collective | open_collective: USERNAME |
| Otechie | otechie: USERNAME |
| Patreon | patreon: USERNAME |
| Tidelift | tidelift: PLATFORM-NAME/PACKAGE-NAME |
| Custom URL | custom: LINK1 or custom: [LINK1, LINK2, LINK3, LINK4] |
For Tidelift, use the platform-name/package-name syntax with the following platform names:
| Language | Platform name |
|---|---|
| JavaScript | npm |
| Python | pypi |
| Ruby | rubygems |
| Java | maven |
| PHP | packagist |
| C# | nuget |
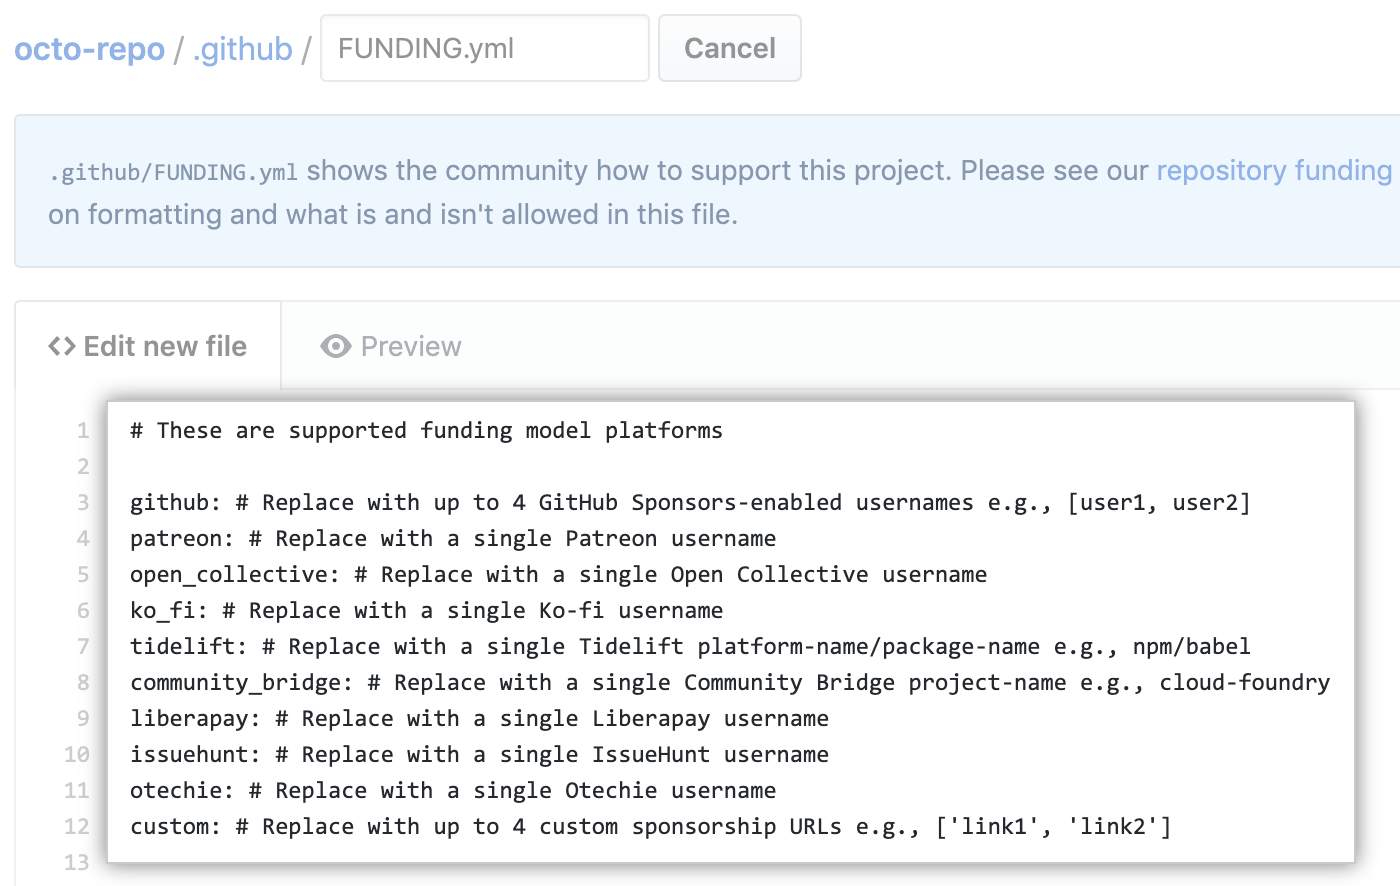
Here's an example FUNDING.yml file:
github: [octocat, surftocat]
patreon: octocat
tidelift: npm/octo-package
custom: ["https://www.paypal.me/octocat", octocat.com]
Note: If a custom URL in an array includes :, you must wrap the URL in quotes. For example, "https://www.paypal.me/octocat".
You can create a default sponsor button for your organization or user account. For more information, see "Creating a default community health file."
Funding links provide a way for open source projects to receive direct financial support from their community. We don’t support the use of funding links for other purposes, such as for advertising, or supporting political, community, or charity groups. If you have questions about whether your intended use is supported, please contact GitHub Support or GitHub Premium Support.
Displaying a sponsor button in your repository
Anyone with admin permissions can enable a sponsor button in a repository.
- On GitHub, navigate to the main page of the repository.
- Under your repository name, click
Settings.

- Under Features, select Sponsorships.

- Under "Sponsorships", click Set up sponsor button or Override funding links.

- In the file editor, follow the instructions in the FUNDING.yml file to add links to your funding locations.
- At the bottom of the page, type a short, meaningful commit message that describes the change you made to the file. You can attribute the commit to more than one author in the commit message. For more information, see "Creating a commit with multiple co-authors."

- Below the commit message fields, decide whether to add your commit to the current branch or to a new branch. If your current branch is the default branch, you should choose to create a new branch for your commit and then create a pull request. For more information, see "Creating a new pull request."

- Click Propose new file.

Further reading
- "About GitHub Sponsors for open source contributors"
- "FAQ with the GitHub Sponsors team" on the GitHub Blog